Ender-5 S1 Review, Specs, Shop Links, Price & Photos: Creality’s Ender series is one of the evergreens from the 3D printing company, which recently celebrated its 9th birthday with new products. The Creality Ender-5 S1 can be found on the test bench today, which has to endure a triple test “naked”, with housing and Creality Sonic Pad. You can read what that means in concrete terms here.
Creality Ender-5 S1 3D Printer Review, Specs & Price
- Creality Ender-5 S1 3D Printer:
- at Geekbuying for €348.28 – voucher GKB11ANNI2 (pay with PayPal!)
- at Cafago for €361.77 – coupon CAC6718
- at TOMTOP for €399 – voucher ED6718
- at Creality for €459
- at Creality incl. Creality Sonic Pad for €569
- Creality Sonic Pad:
- at Creality for 139€
- at Geekbuying for 123€ – voucher NNNFRBEDETPAD (shipping from Poland)
- at TOMTOP for €147.86 (shipping from China)
- at AliExpress for €162.64 (shipping from China)
- Acrylic panel addon:
- Specifications: Best Ender?
| Manufacturer | Model | Creality| Ender-5 S1 |
| design type | Cube |
| printing technology | FDM (Direct Drive) |
| print speed | max. 250 mm/s |
| installation space | 220x220x280mm |
| print bed | heatable (up to 110 degrees) |
| max. nozzle temperature | 300 degrees |
| nozzle diameter | 0.4mm |
| connectivity | Micro SD, USB-C |
| features | auto leveling Direct Drive (1:3.5 ratio)All Metal Hotend (max. 300 degrees) 4.3 inch touch screen 32-bit motherboard with TMC2209 filament sensor Powerloss recovery |
| overall dimension | Weight | 425x460x570mm | 12.1kg |
Scope of delivery: a little smaller than usual
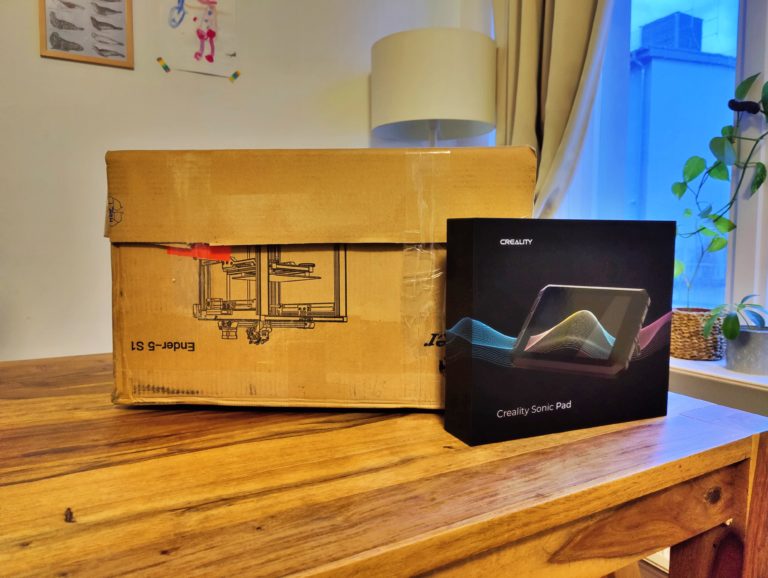
And again a brown box arrives with me, the contents of which are well packed with foam. In fact, there is a veritable foam tower here, which is why we don’t even want to start with sustainability.
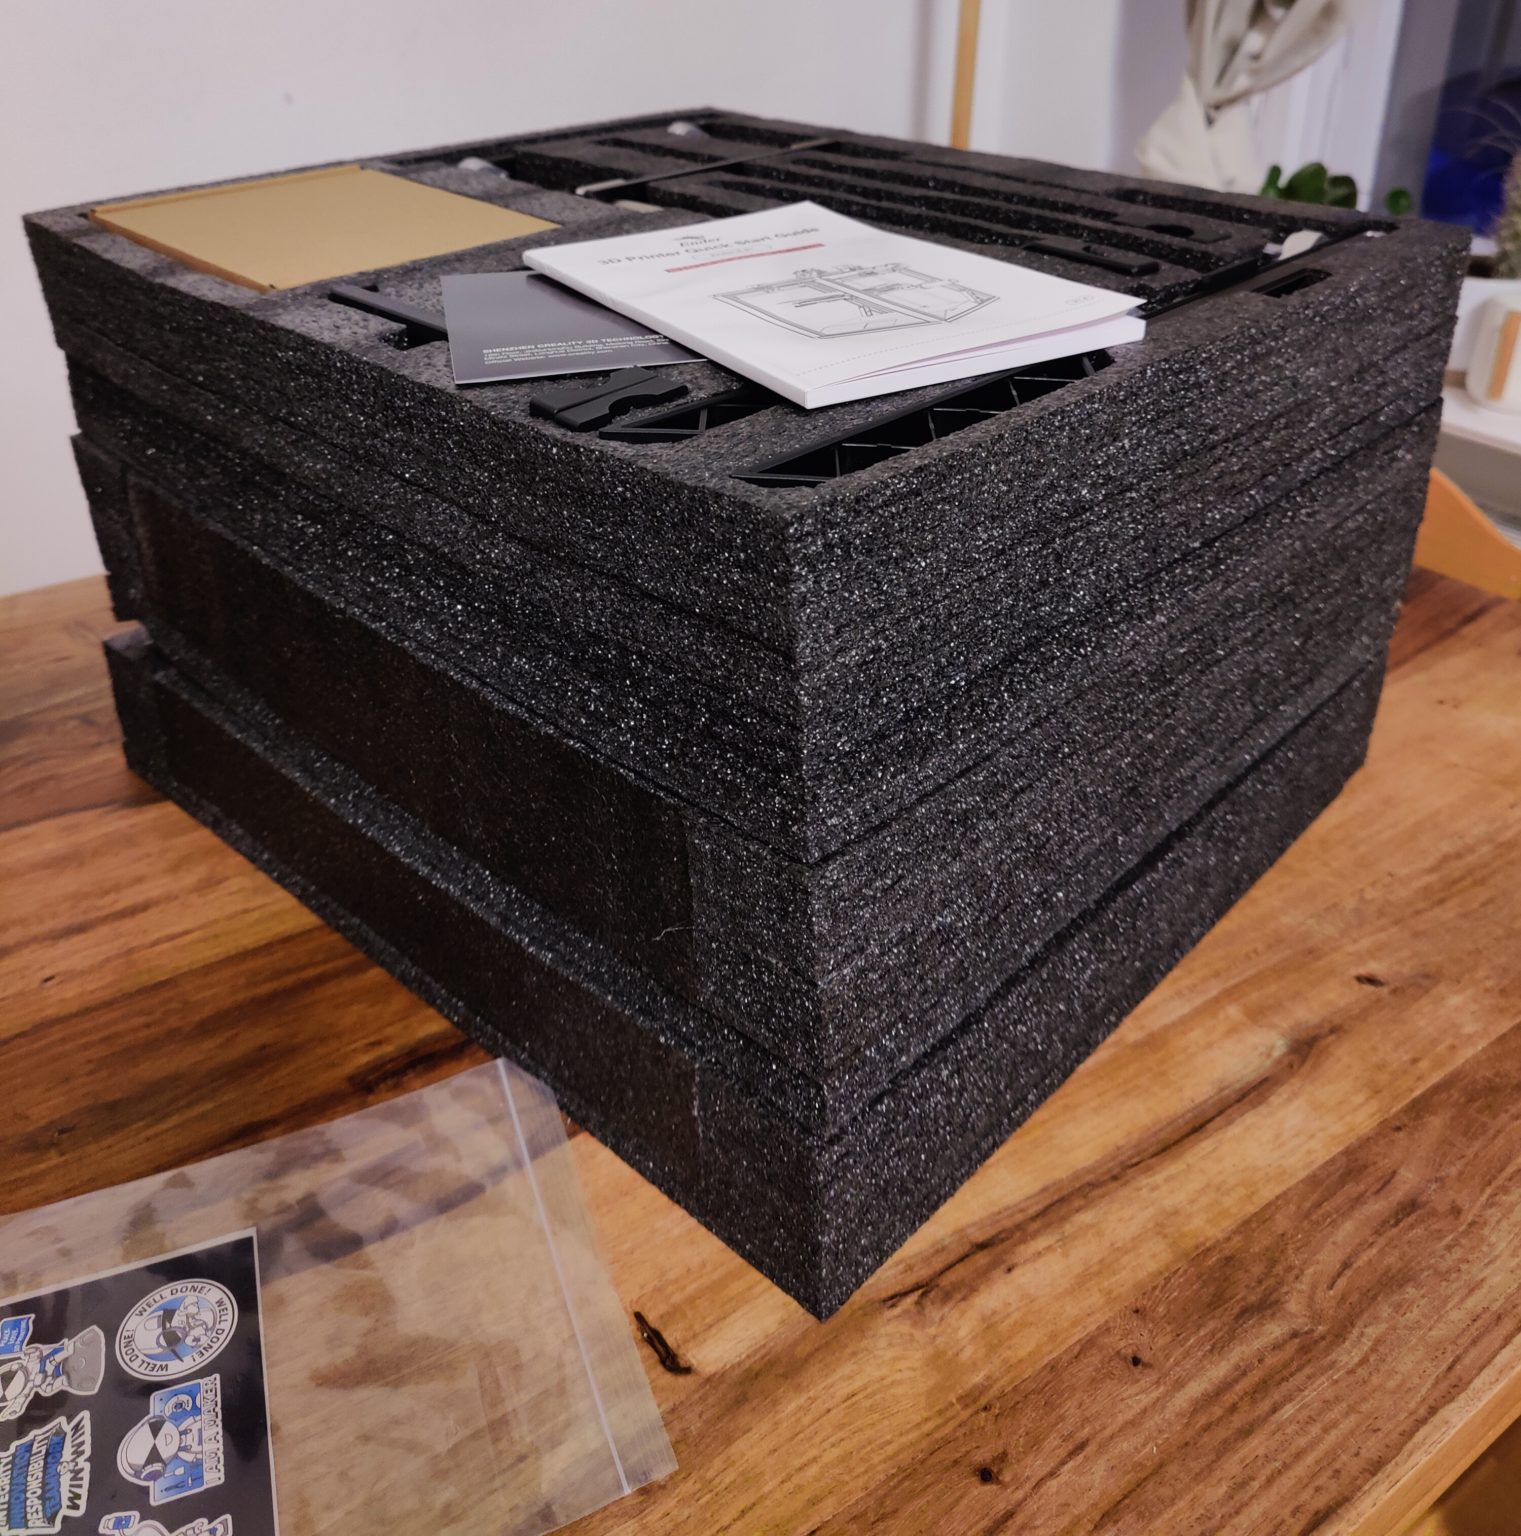
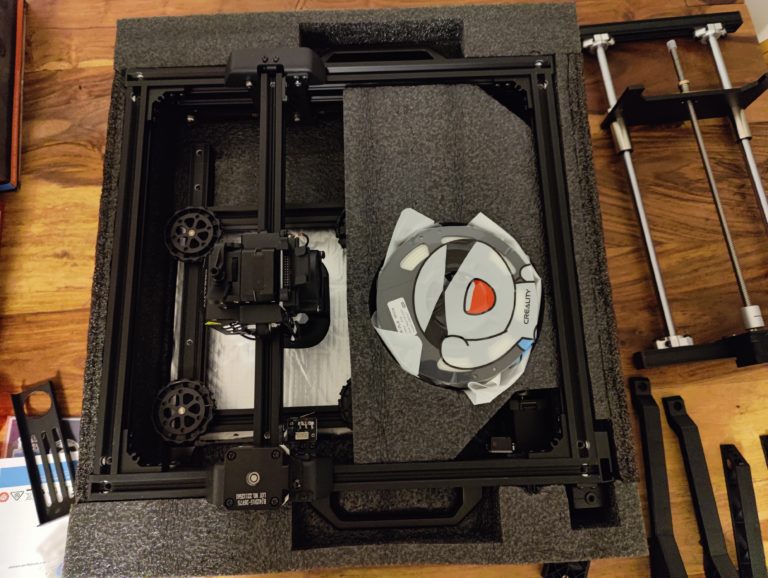
Nevertheless: Everything is nicely packed. At the top I am greeted by a Quick Start Guide including level paper (0.1mm) with a list of printable materials and their recommended printing parameters for the Ender-5 S1 on the back. So everything is unpacked and the table is almost full.


First of all, there are the printer components: base, attachment including pre-assembled print head, print bed including silicone dampers and Z-spindle guided on both sides with print bed holder. Here I hesitate a little.
Sure, with a print bed of 220 x 220 mm, which only moves downwards due to its design, that may be enough. Nevertheless, I would have preferred a double Z spindle instead of this cantilever approach. So be it: if this construction does its job without having to level up frequently, everything is okay.
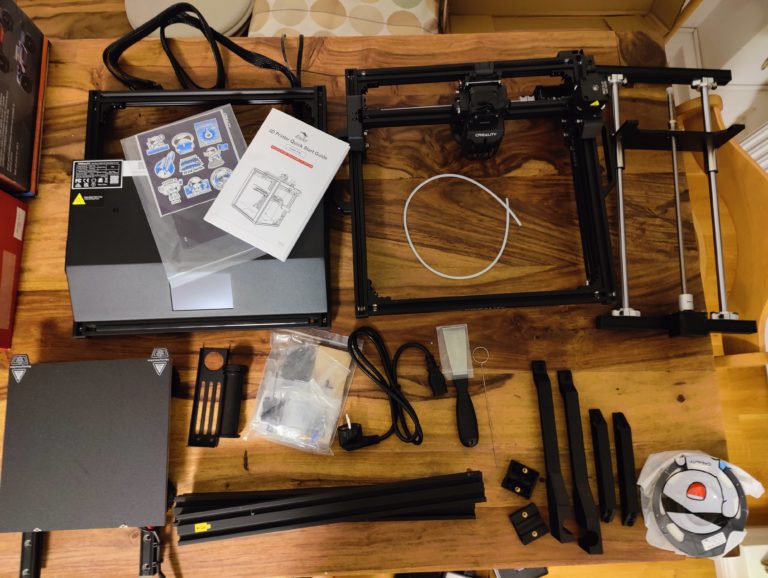
Also included in the box are a PTFE tube with a push-fit clip, a filament holder, four colored profiles, two print bed supports and two diagonal support struts.
- You May İnterested: Ender 3 S1 & Ender-3 S1 Pro Reviews
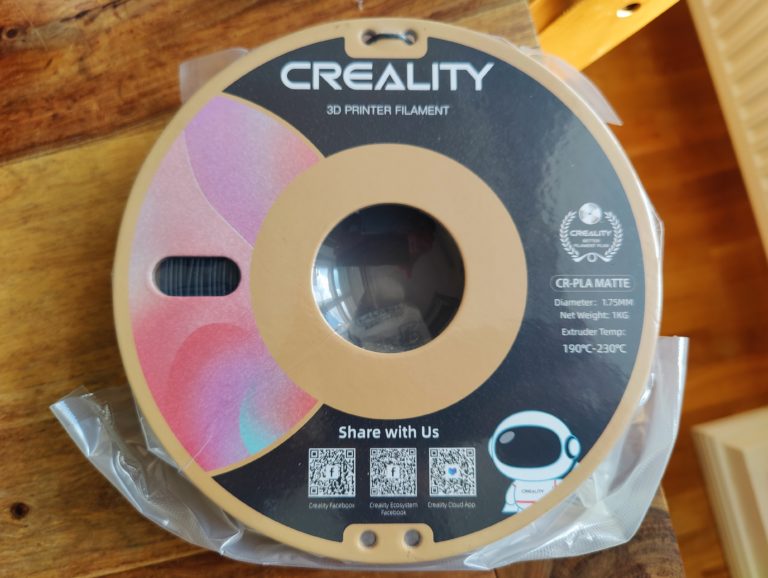
Also present, of course: the usual screw bags, tools including side cutters, nozzle cleaning needles and spatulas, cable ties and fastening clips (very good!) as well as a brass replacement nozzle (MK8 design, but unusually long) and a USB adapter including a sausage finger-friendly SD card ( not microSD). Creality also includes 200g of black CR-PLA. Another roll of CR-PLA comes to me in matt black, which will turn out to be really useful in the tests.
Design: Dice stop
What can I say: The classic, a black, very stable metal frame in the shape of a cube. However, anyone who assumes a CoreXY system because of this cube design can rest assured: Creality uses an H-Bot system – without a belt tensioner. CoreXY will enter the Creality universe with the K1 (Max).
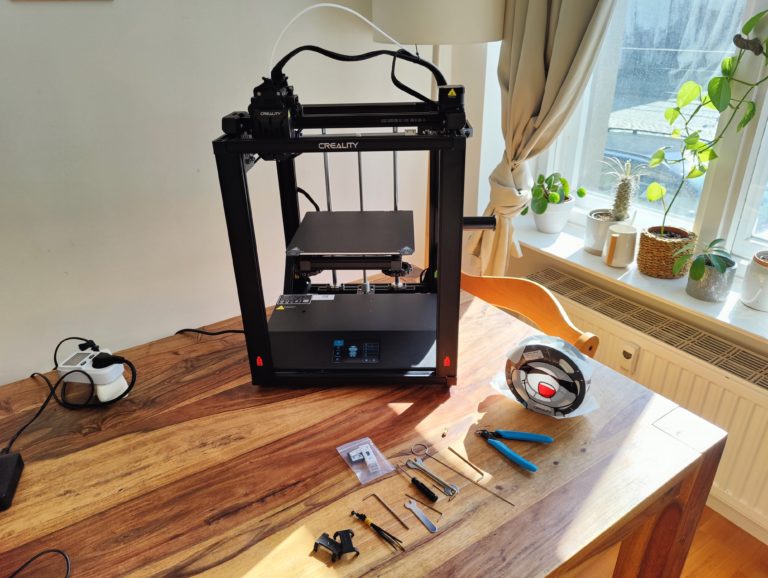
The already mentioned additional diagonal struts on the lower left and right corners at the back give an idea of how stable the high-quality printer is. I like the simple, clean, tidy look of the printer, which measures 425 x 460 x 570 mm and weighs 12.1 kg, with its practical carrying handles and a small 4.3-inch touch display on the front. SD and USB-C slots are installed on the right side.
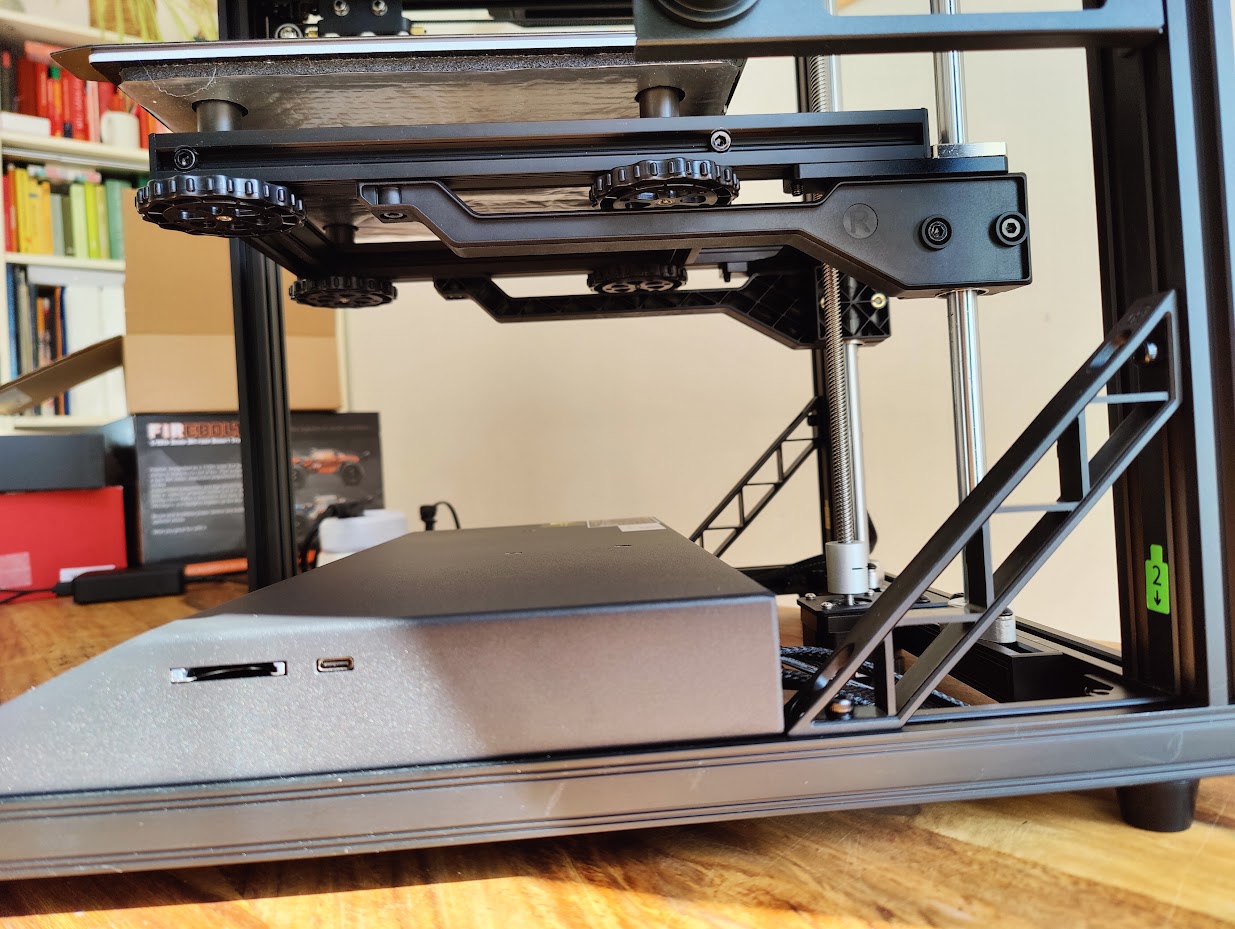
Otherwise, the Ender-5 S1 cuts a good figure in terms of design, because it looks less like a handicraft printer than its “ancestors”. Most of the cables are neatly laid, fixed or even hidden and the stepper motors fit in quite harmoniously with the overall picture. Creality has also thought of extras such as dust protection for the X and Y carriages. The latter now have four instead of the usual three V-rollers.
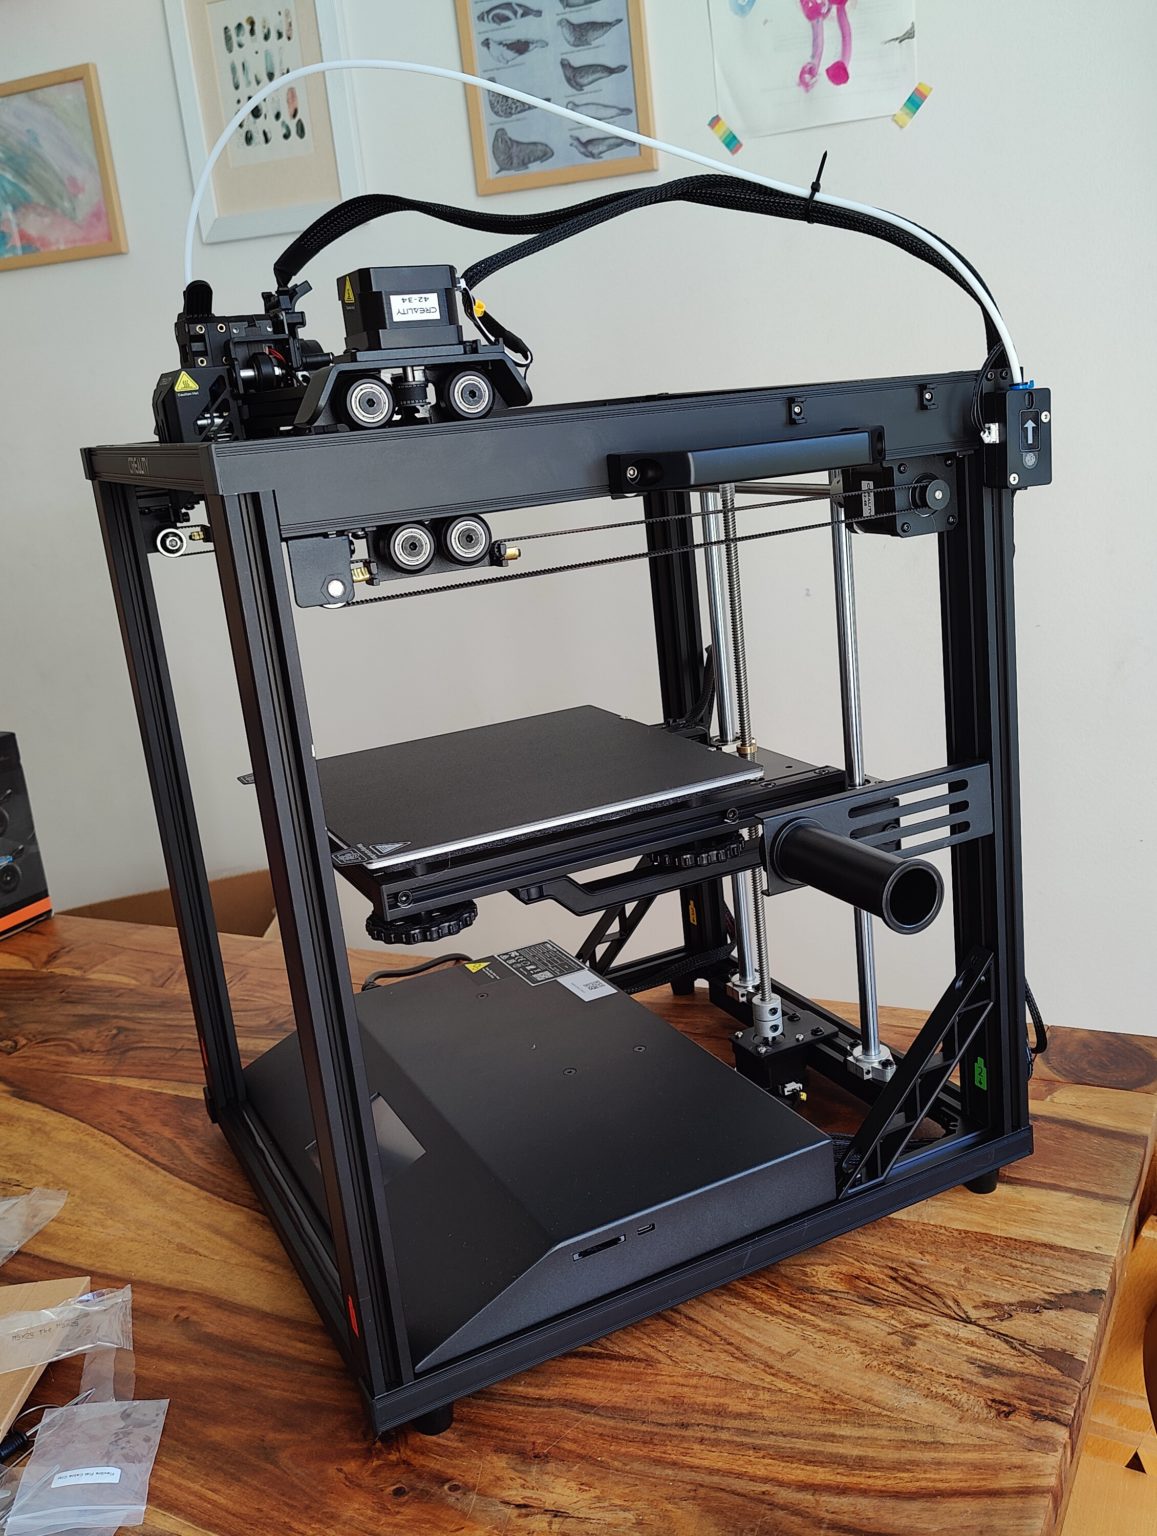
Speaking of a good figure: the print head also cuts a fine figure with its double-sided component cooling and a 5015 radial fan, which is supposed to stand up to the 300-degree all-metal hotend. The direct drive extruder is not located directly above the hot end, but first of all a heat sink with cooling fins, the surface of which has been increased by a factor of 2.5. The two laterally attached axial fans should be able to cool better. The extruder hotend setup differs from the Sprite Pro extruder of the cheaper Ender-3 S1 Pro, which can also print at 300 degrees.
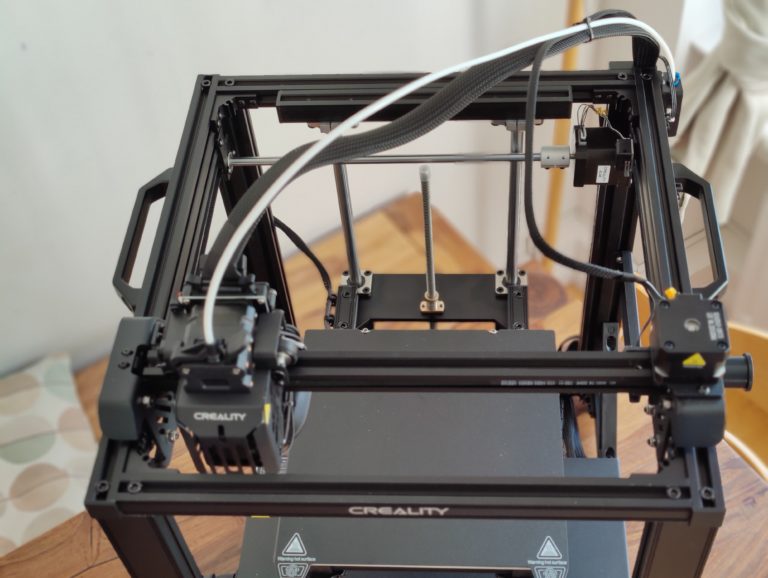
Construction: easy
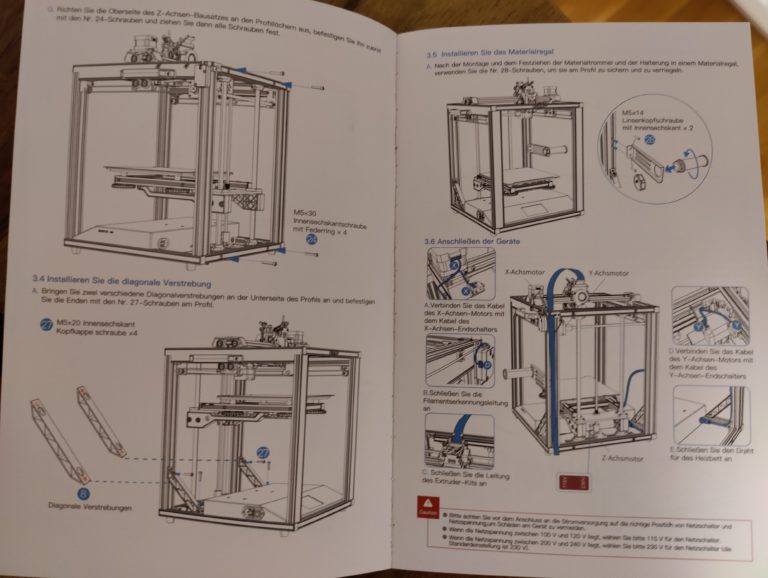
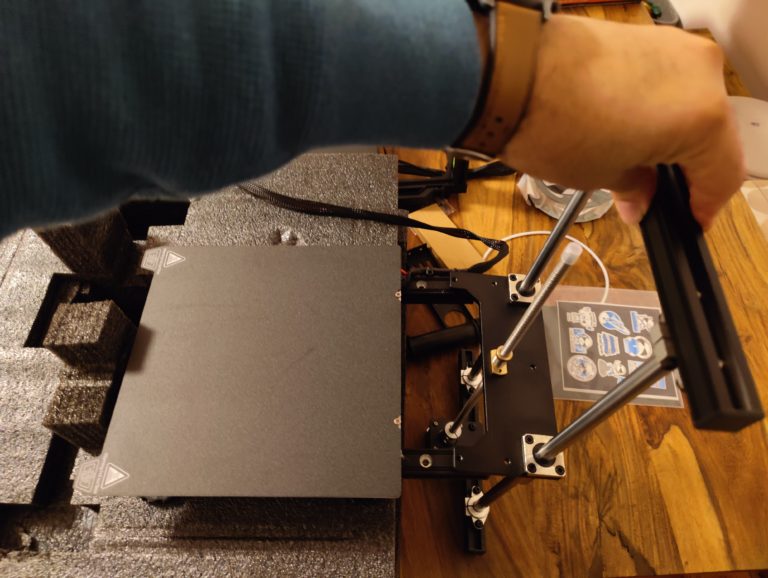
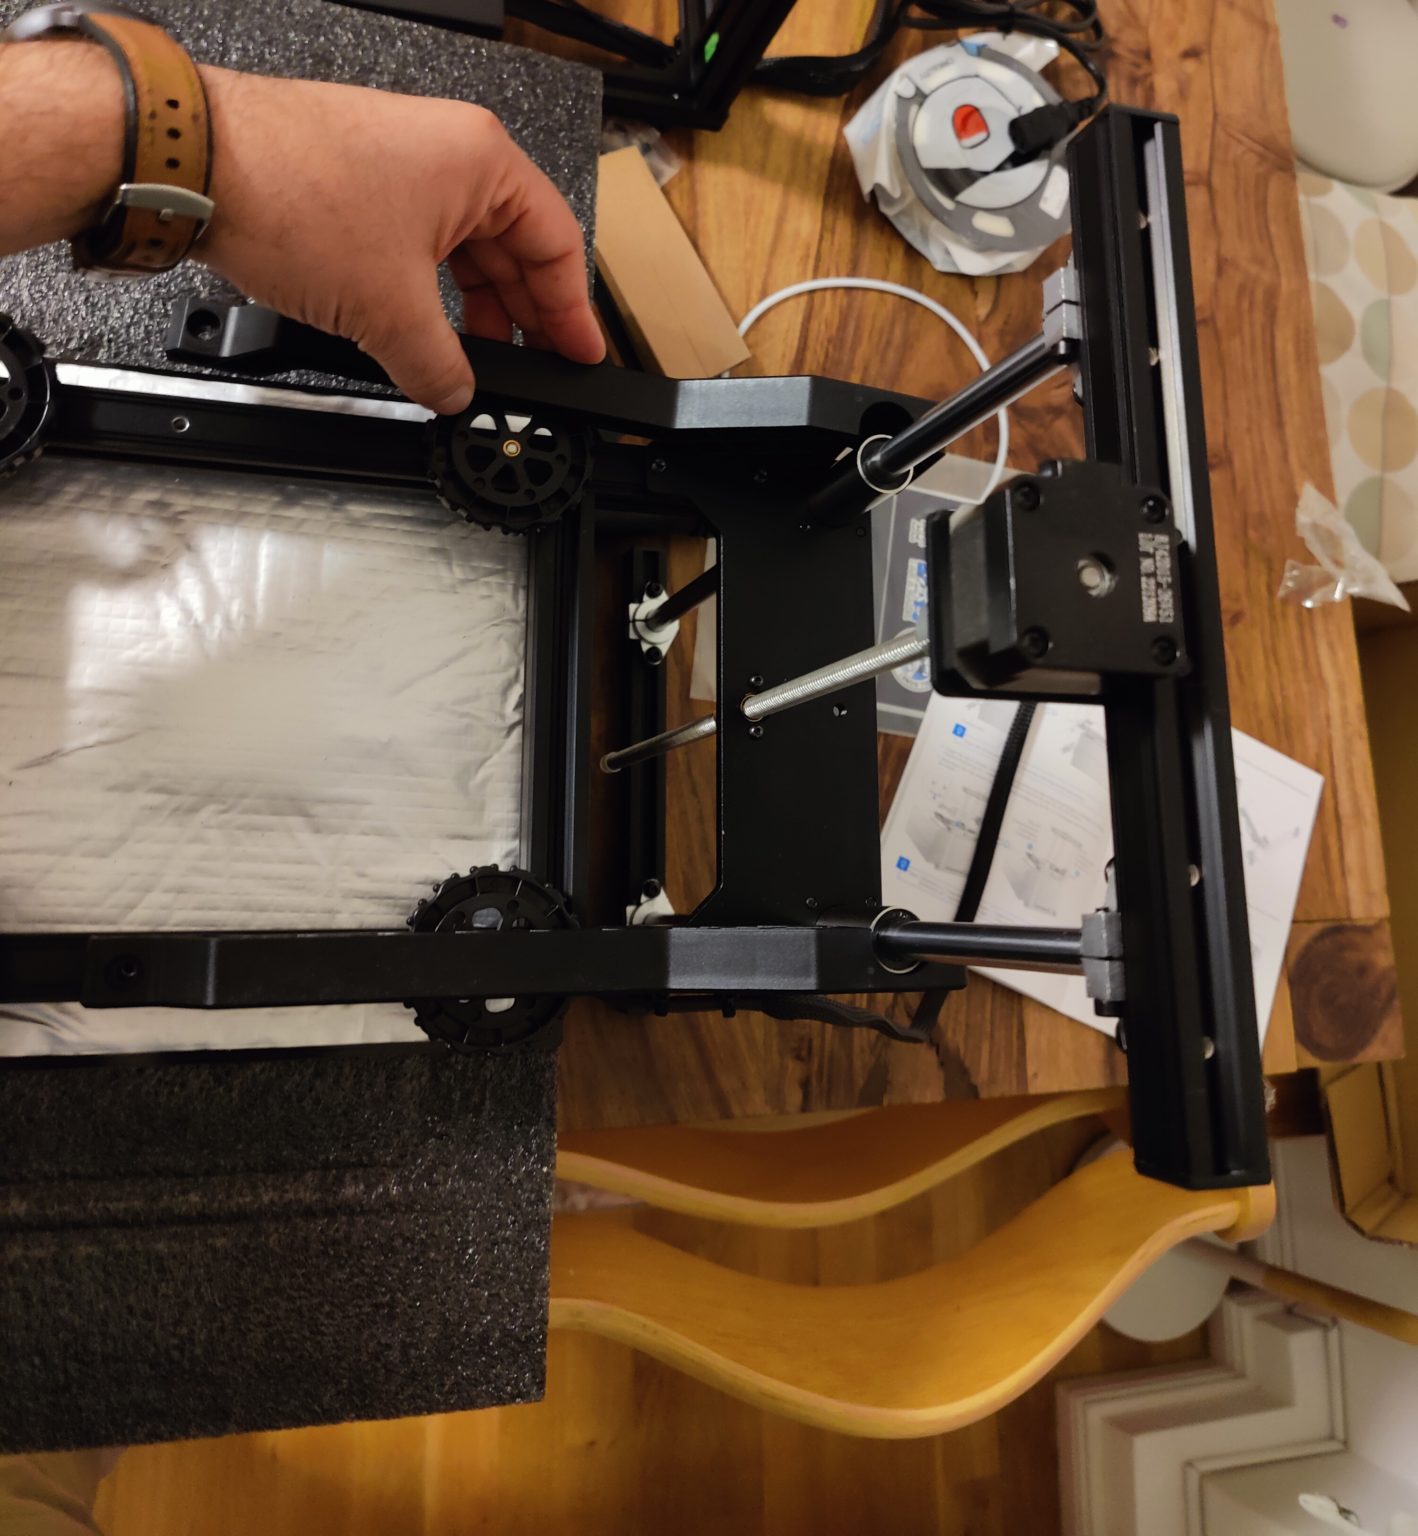
After a quick look inside the base, where everything appears to be cleanly wired, construction begins. This can also be done quickly thanks to the well-illustrated quick start guide. Tighten a few hex screws here and there and bang, all the components are assembled.
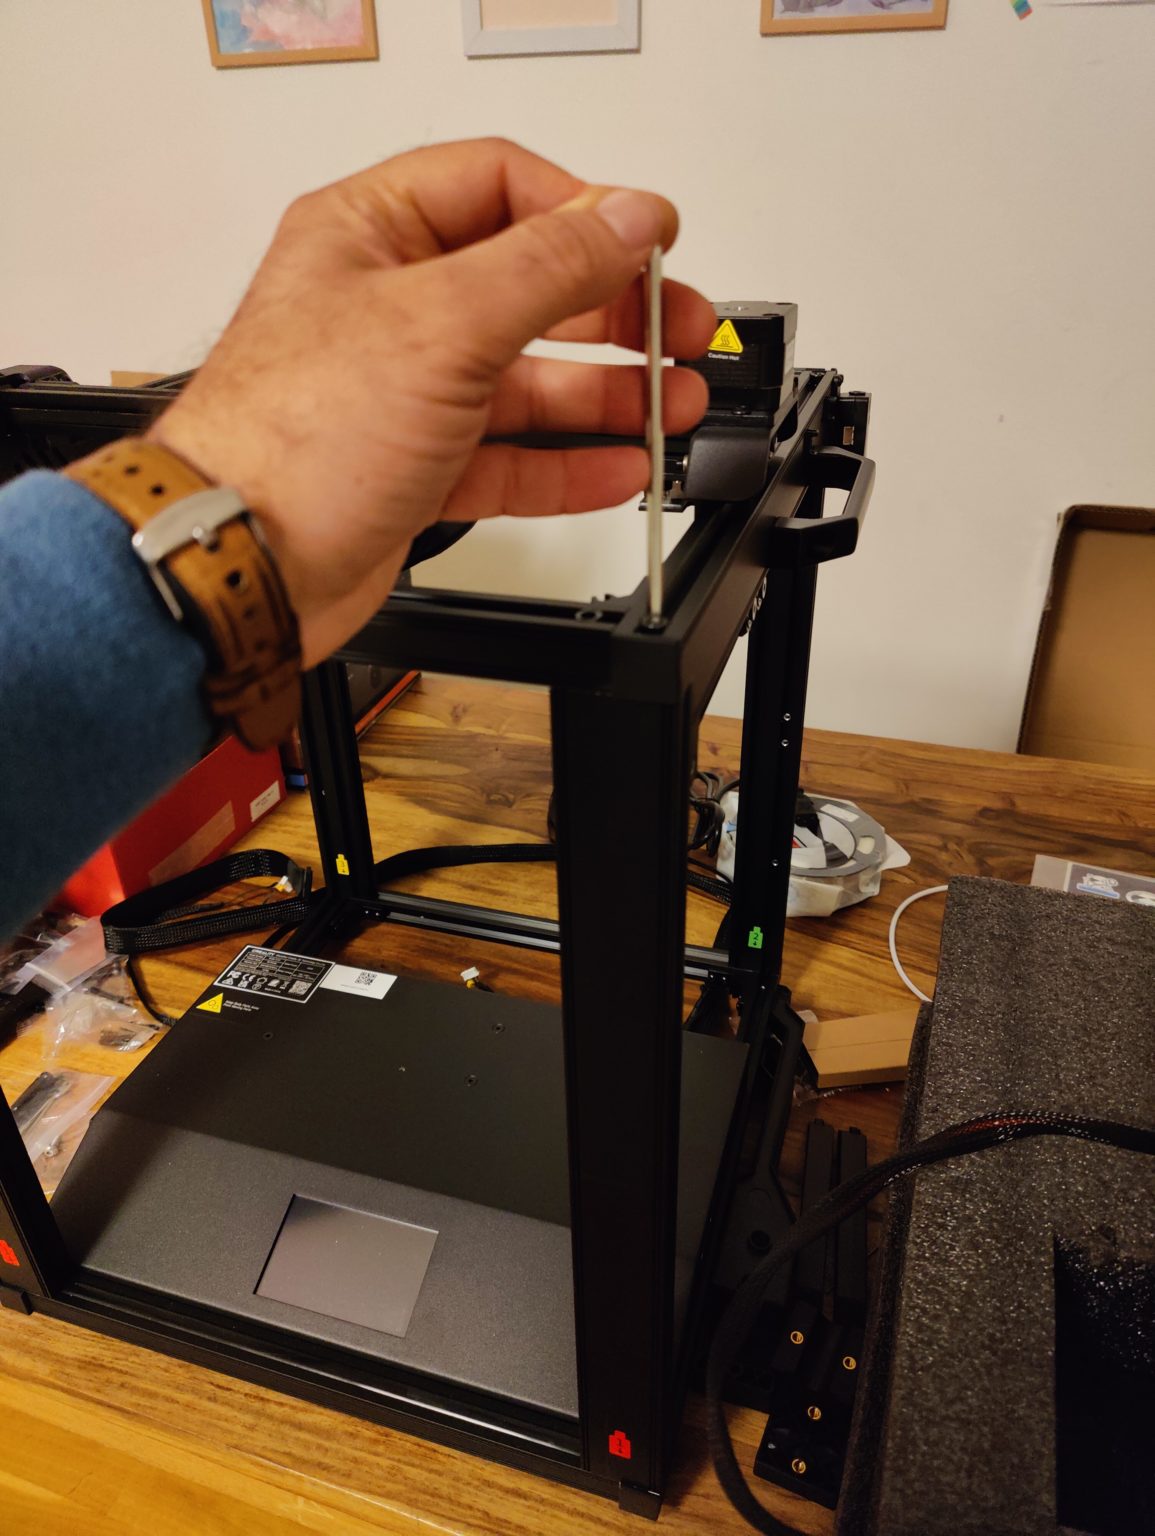
At most, it is important to mention that when fixing the aluminum profiles, make sure they are in the correct right-angled position and then tighten the screws by hand – always taking into account that all four rubber feet are stable. If you are too fast/sloppy here, the Ender-5 S1 acknowledges this with a shaky position. Of course it didn’t happen to me, that’s clear.
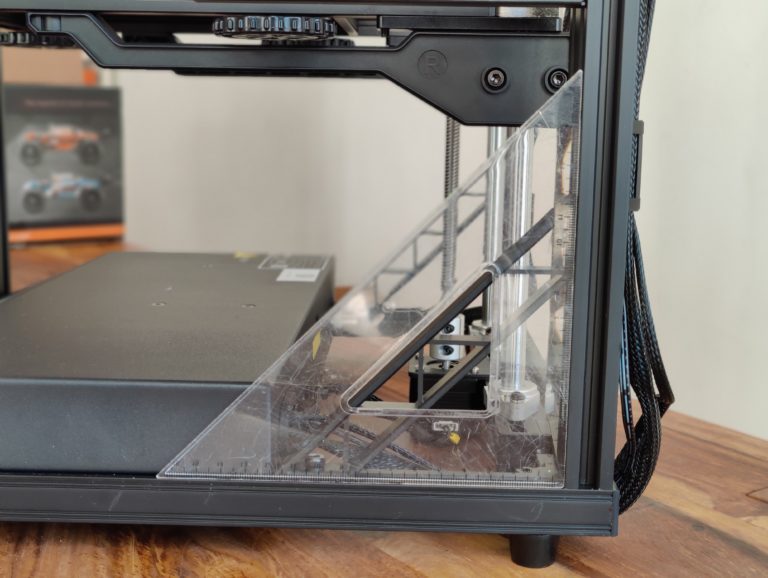
Otherwise, the use of the “cardboard foam tower” is worth mentioning, which makes it easier to mount the exemplary insulated print bed on the Z-axis module. This print bed gets two more plastic supports, but comes with a magnetic PC pad that I don’t like much, which simply sticks too much, especially if the leveling isn’t quite perfect. PEI spring steel would have been nice here – by the way, as would a cold device connection on the back, which somehow disturbs my sense of aesthetics on the left side.
Commissioning: easy, but…
So now the thing is set up. So queue up first and the touch display reveals a very clear menu, which I first click through. Manual axis movements, filament feed and pull-out as well as temperature control including presets for ABS and PLA can be reached intuitively. In addition, I can also activate or deactivate the filament or the CR touch level sensor, very nice. A little more attention to detail could have been put into the user interface.
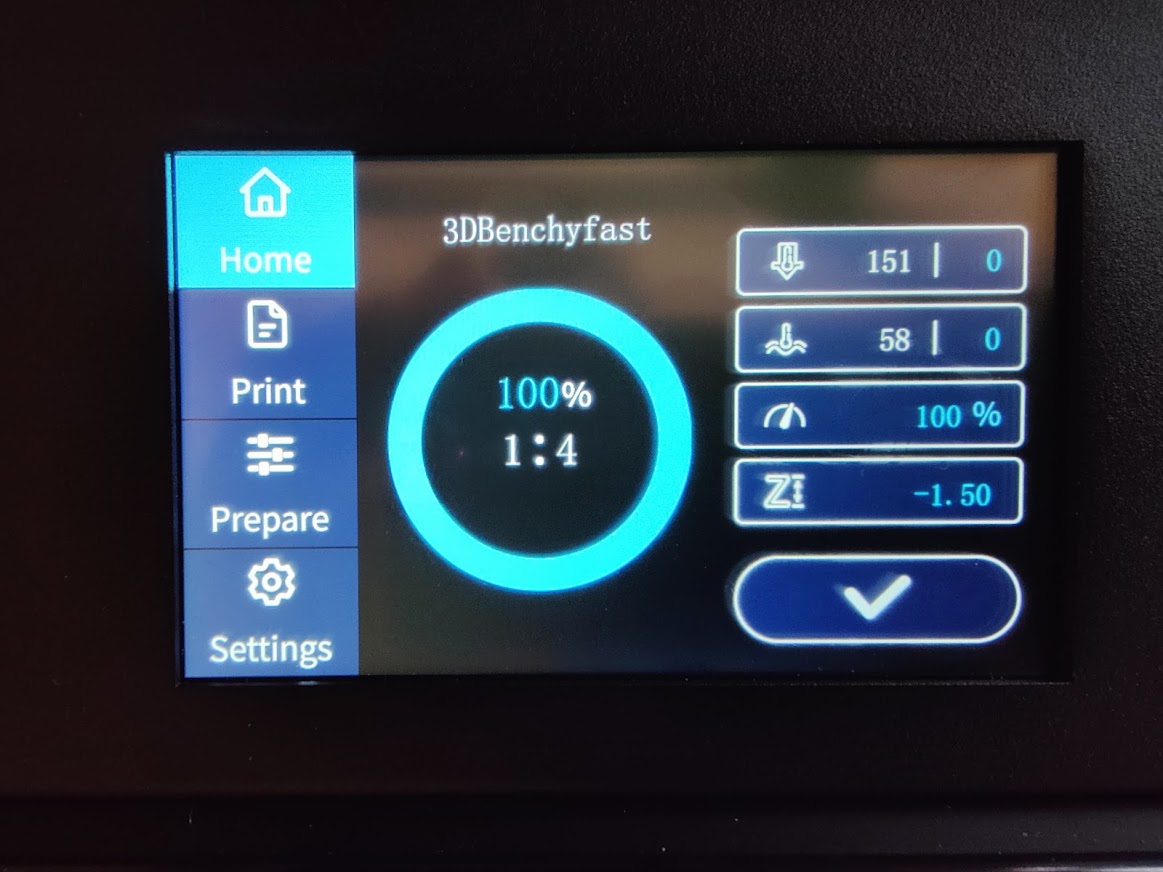
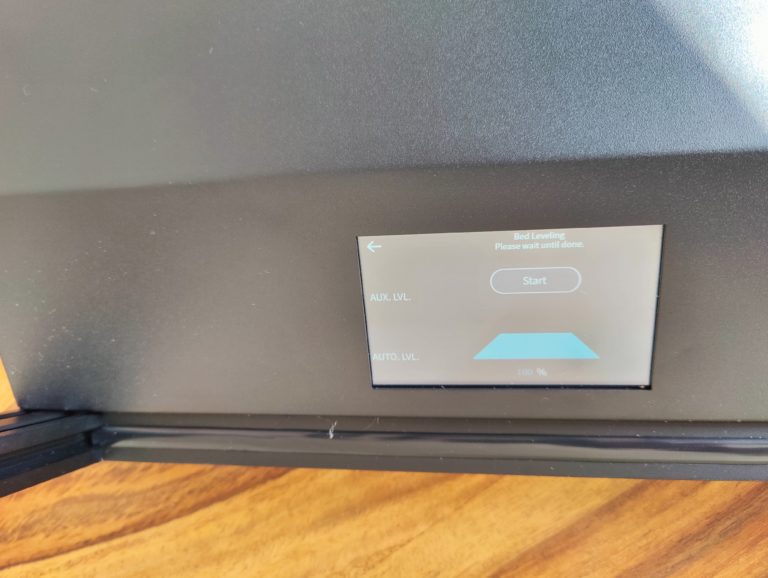
So I start the auto-leveling first . And sorry Creality, here I would like manual pre-leveling reduced to a minimum, similar to the BIQU Hurakan, for example. Instead, I first have to level 5 positions with the setting wheels under the print bed, set the Z-offset and only then run the auto-leveling.
Speaking of auto-leveling: It just takes a few minutes. Why does it have to be so slow, Creality? And why do the hotend and print bed stay cold? Not only that disturbs the previously very positive impression, but also that the display freezes when you click around and the printer no longer reacts. This happened to me three times, requiring me to restart the Ender-5 S1 each time.
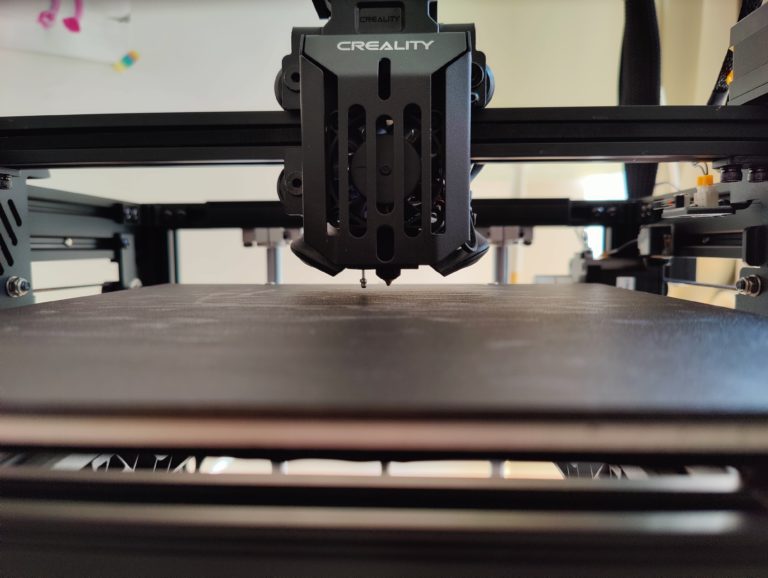
A little tip: Use a 3D printing glue stick for the PC support and, if in doubt, a scalpel instead of the usual spatula. This makes it a lot easier for you to solve finished prints.
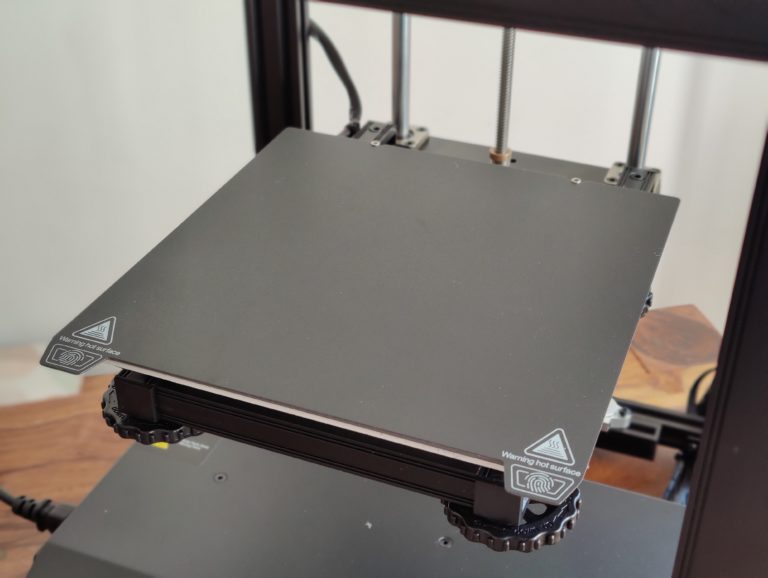
Emissions: Hunger for electricity – volume – heat
Okay, I’m spoiled by Bambu Lab & Co and the Ender printers are Creality’s entry-level series, but the minute-long heat-up time of the heated bed was significantly shorter with other printers in the upper entry-level range. Anyway, enough nagging. Let’s take a closer look at the power consumption, noise level and heat development of the Ender-5 S1.
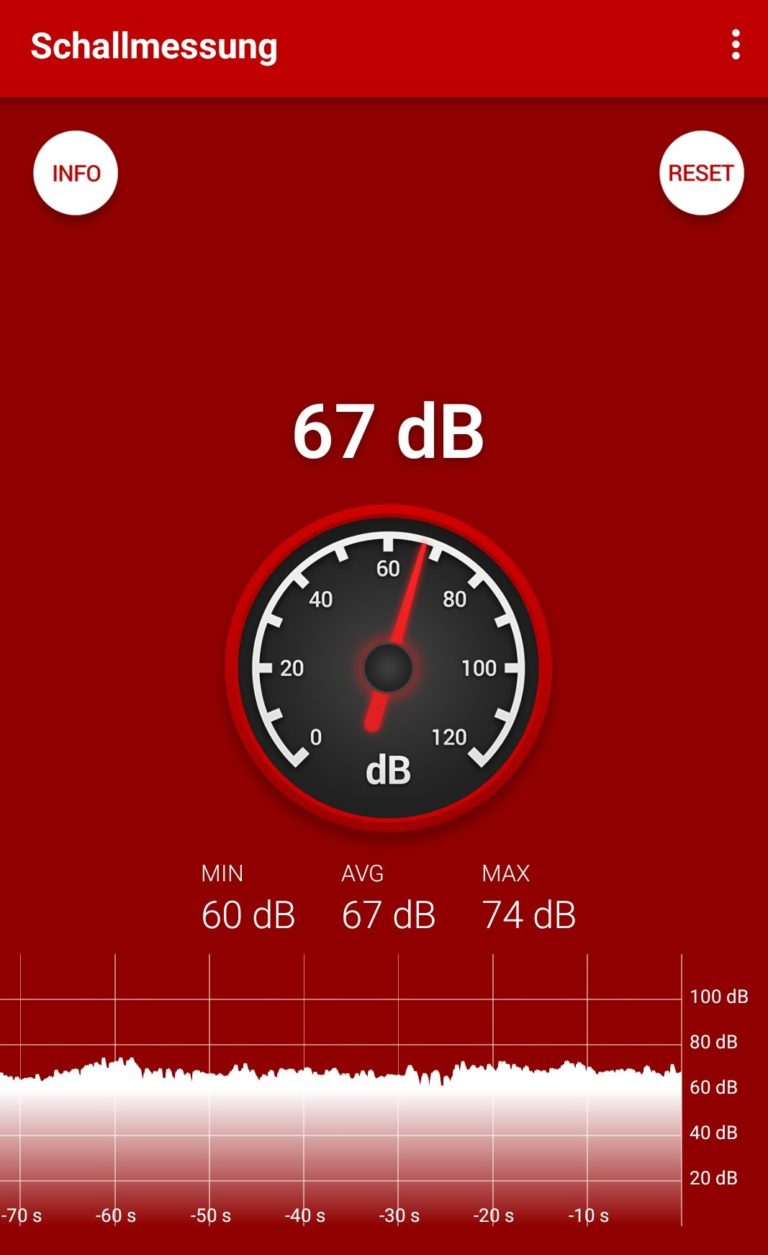
If the printer has nothing to do, it consumes an average of 7.7W (idle). The power supply fan, which starts up immediately after switching on and unfortunately runs constantly, certainly has a part in this . At least: With an average of 54 dB, the volume is bearable.
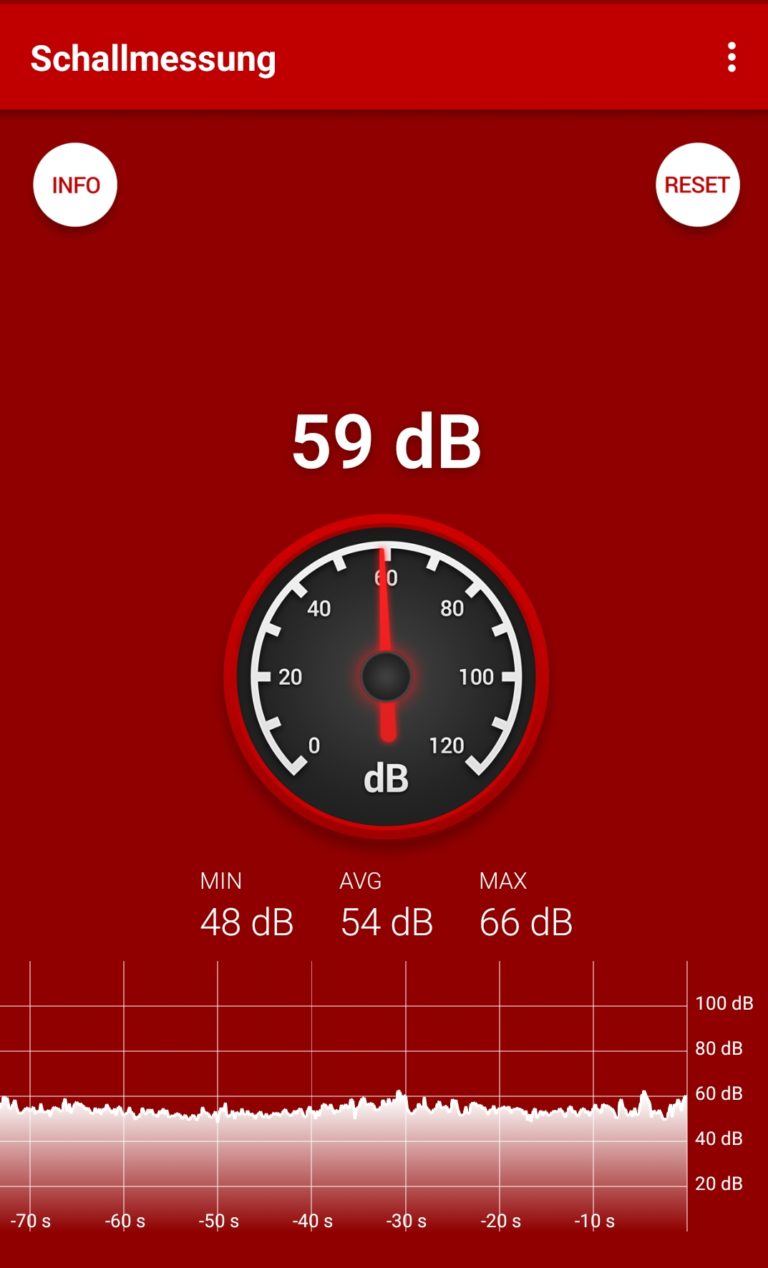
Even during pressure up to 250mm/s, the Ender-5 S1 remains absolutely tolerable compared to an AnkerMake M5 with an average of 67dB with a pleasant low-frequency whisper. This will not change if we operate the printer with the Creality Sonic Pad.
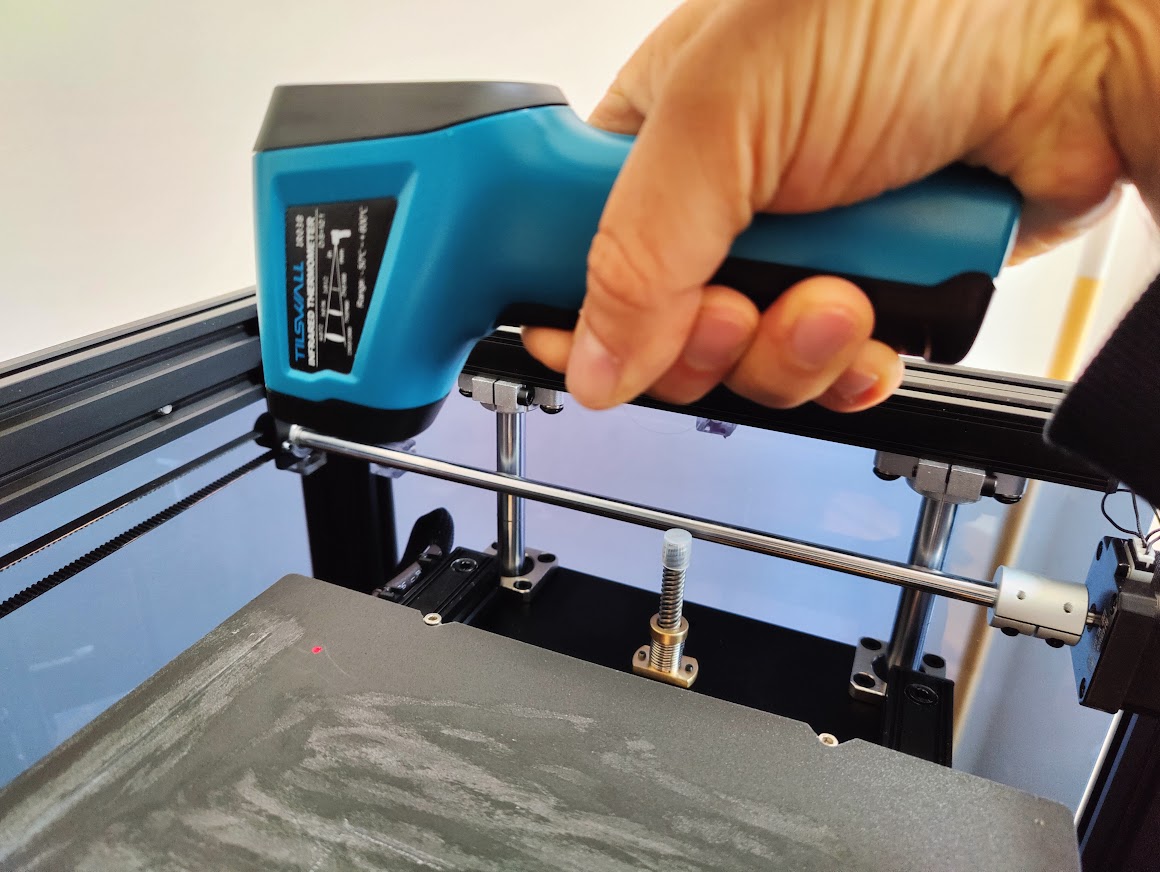
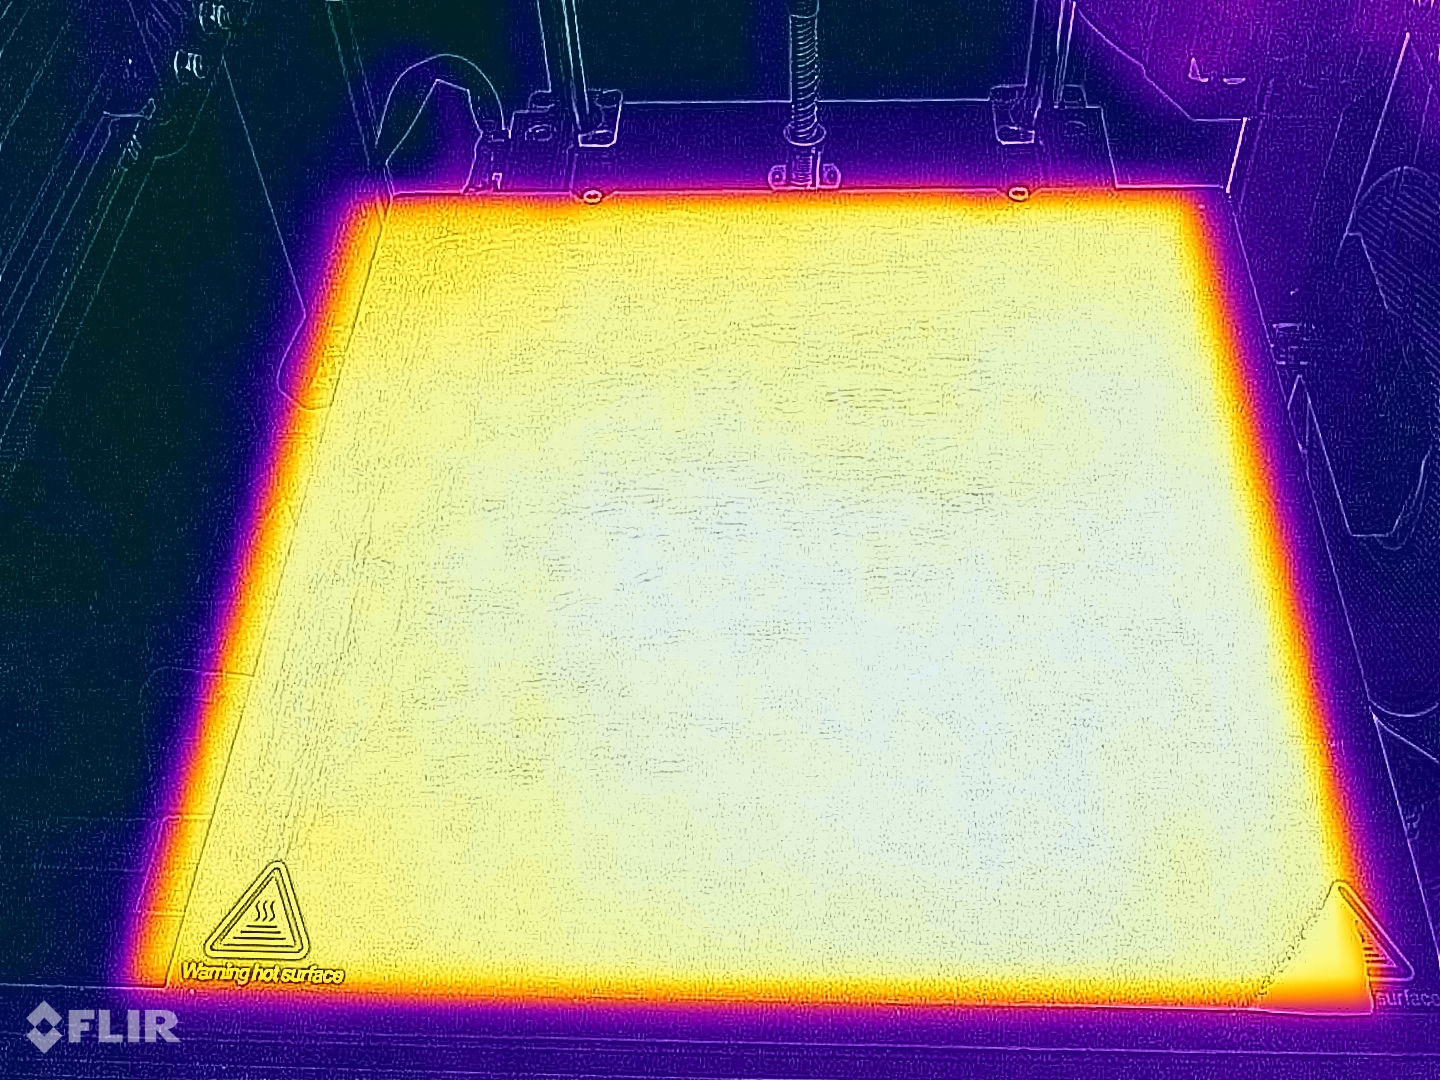
The leisurely heating up of the heating bed to 60 degrees results in an average of 302.4W, while the hotend treats itself to only 72.8W on average when heating to 200 degrees. The heat development at the motors is inconspicuous, the heat distribution, on the other hand, is remarkably even after 15 minutes with a print bed heated to 60 degrees. Only at the back left does the number of degrees drop slightly. Specifically, this means: front left 63.3°C, front right 63.1°C, rear right 62.9°C, rear left 61.2°C and in the middle 62.8°C. Well done Creality!
Software: Creality Slicer vs Cura
In principle, I have nothing against proprietary slicers. But I simply don’t see the point of the Creality Slicer. It is a little concealed relabeling of an outdated Cura version. Sure, the Ender-5 S1 is stored here as a printer with its parameters, just like Creality’s filaments.
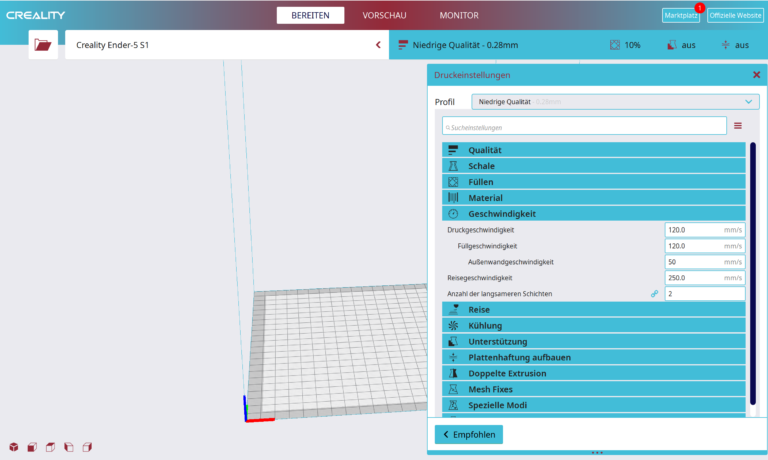
But why take an outdated Cura version instead of going straight to the “original” in the current version (5.3.0) ? It’s just stupid that Creality hasn’t stored a profile for printers and their own material here. Materials or Cura profiles can be fetched from Creality’s slicer via the export function and imported into Cura. However, this does not apply to the printer settings.
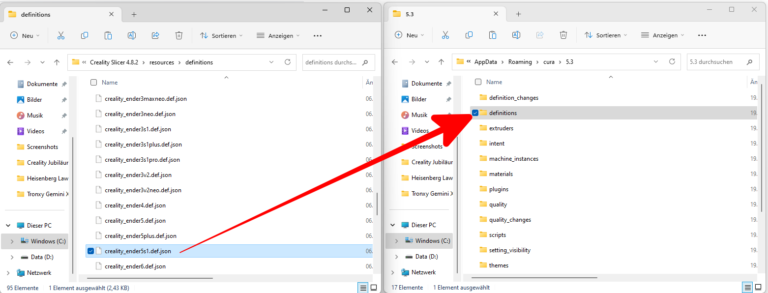

Here’s a little trick: In the program directory of the Creality slicer, under “definitions” and “variants”, you have to add the two corresponding Ender-5 S1 files to your user directory under AppData -> Roaming -> Cura. Then you have to make a minimal change with Notepad++.
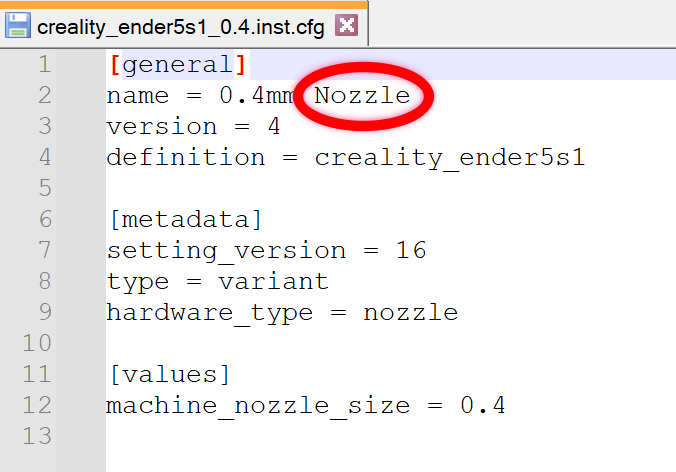
Now you should be able to select the Ender-5 S1 in Cura and also be able to use Creality’s filaments (materials). Unfortunately, this does not apply to all types of filament – but it is a small relief. This YouTube video shows you how the whole thing works using the example of the Ender-3 S1 Pro.
Print samples Part 1: Marlin firmware without housing
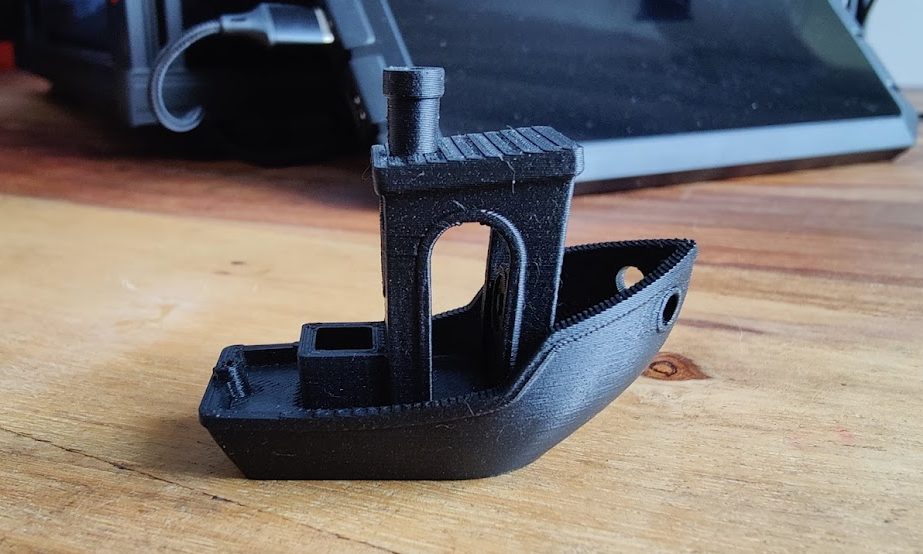
So we’ve now imported Creality’s printer settings into Cura. I now print Creality’s CR-PLA in matt black in standard settings , i.e. at 195°C hotend to 60°C bed temperature at a speed of 120mm/s (500mm/s²) in 01:15 hours. It looks good, although in addition to minimal blobs on the bow, there are imperfections on the sides, see for yourself:
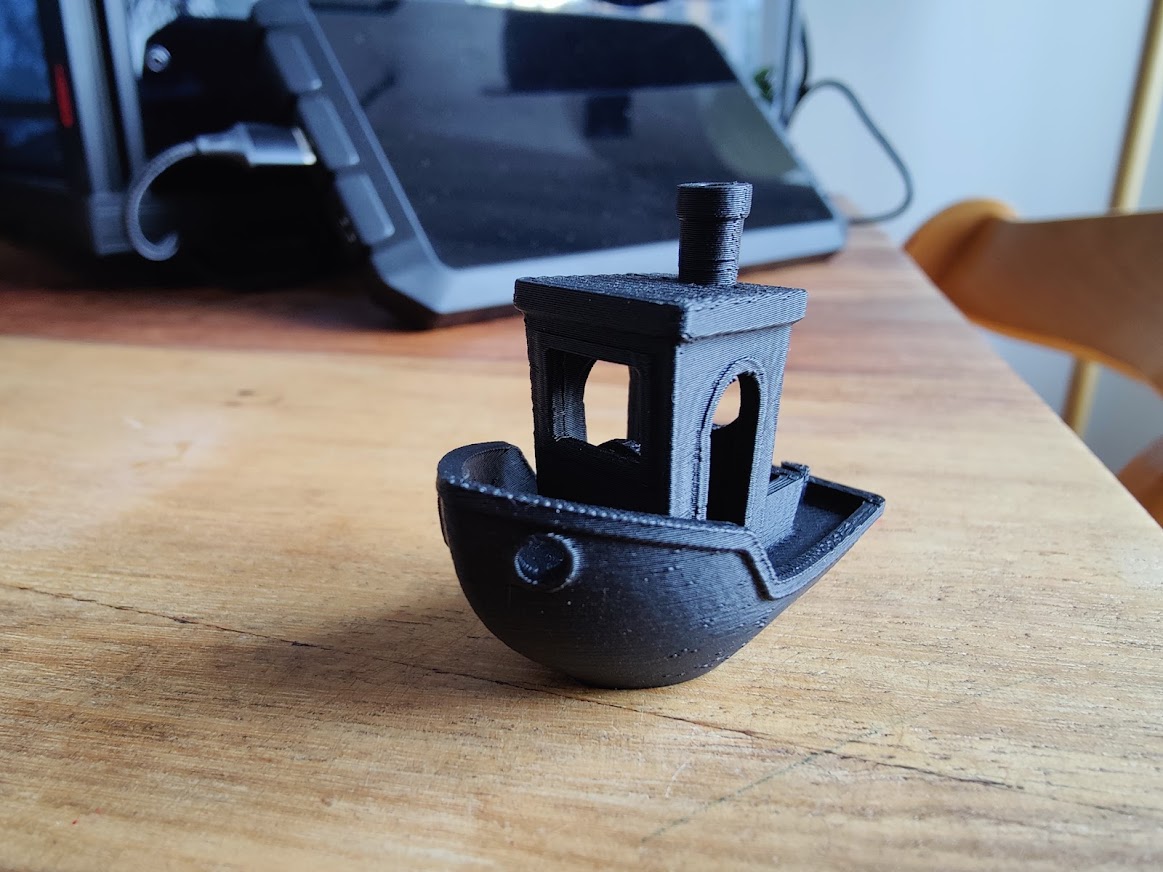
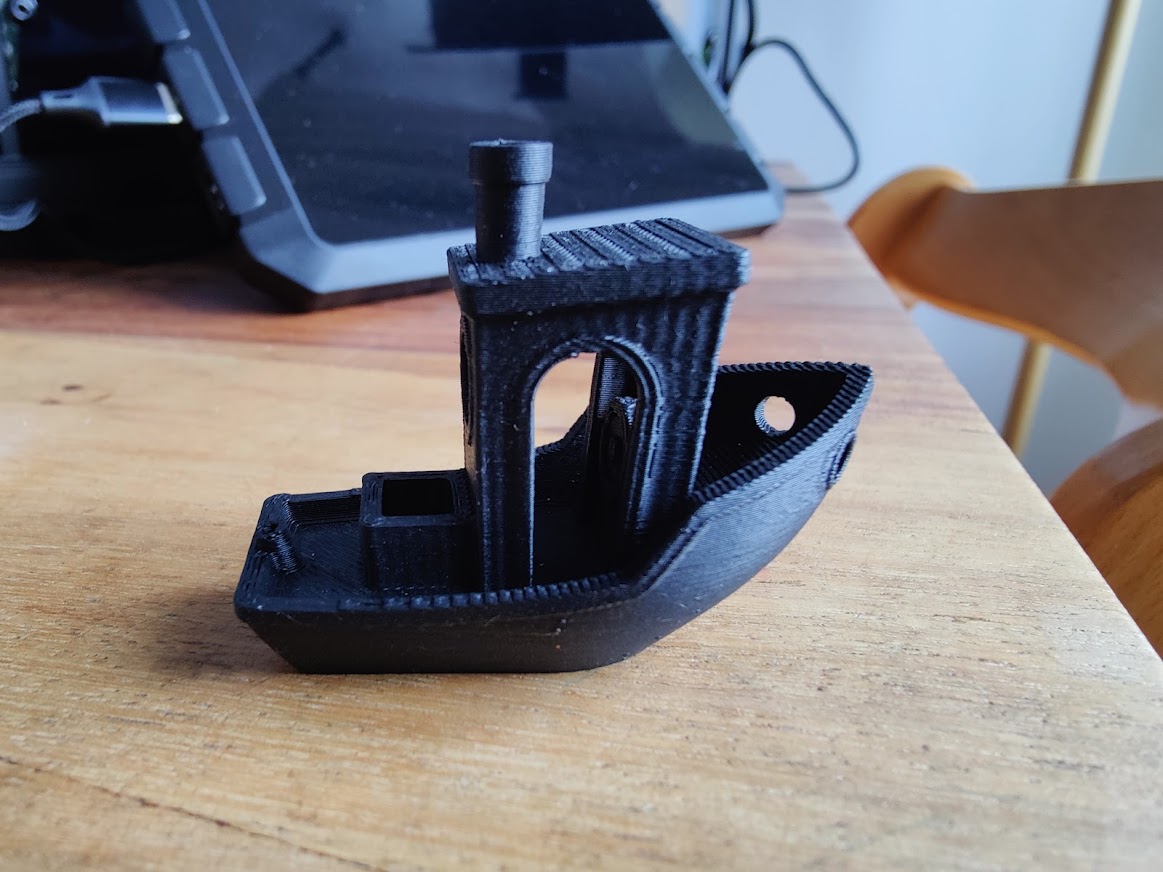
Now I go with the same settings to the 250mm/s advertised by Creality and stimulate the maximum acceleration in the Marlin firmware with 2000mm/s². To be a little merciful, I set the outer wall speed to 60mm/s, which has little effect on the 01:06 hour print time. The result is still impressive, but visible artefacts are now clearly visible in the hull area of the bow.
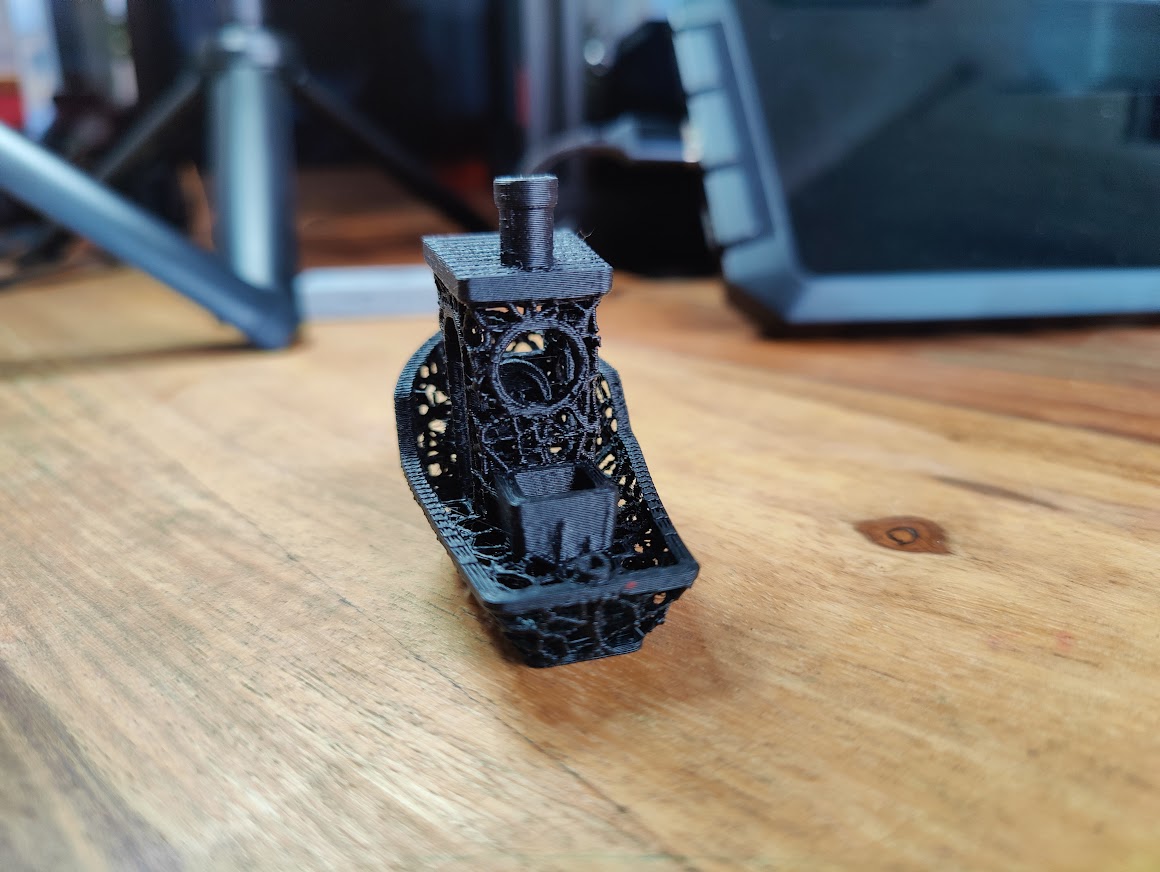
I choose the same Creality filament and the same settings for the Voronoi bench and am really pleasantly surprised: In 01:32 hours a respectable Voronoi bench comes out, respect! Remember folks, with lighting, the whole thing looks far worse than it does in real life.

Next I use CG Orange , this time in the form of Bambu PLA at 200°C nozzle and 60°C bed temperature. To do this, I print the mini all-in-one test at 250mm/s ( outer wall: 60mm/s, acceleration: 500mm/s² ). The usual problems with overhangs occur from 60° to 70°. The surface could also be smoother and the writing much more legible. Otherwise the result is good.
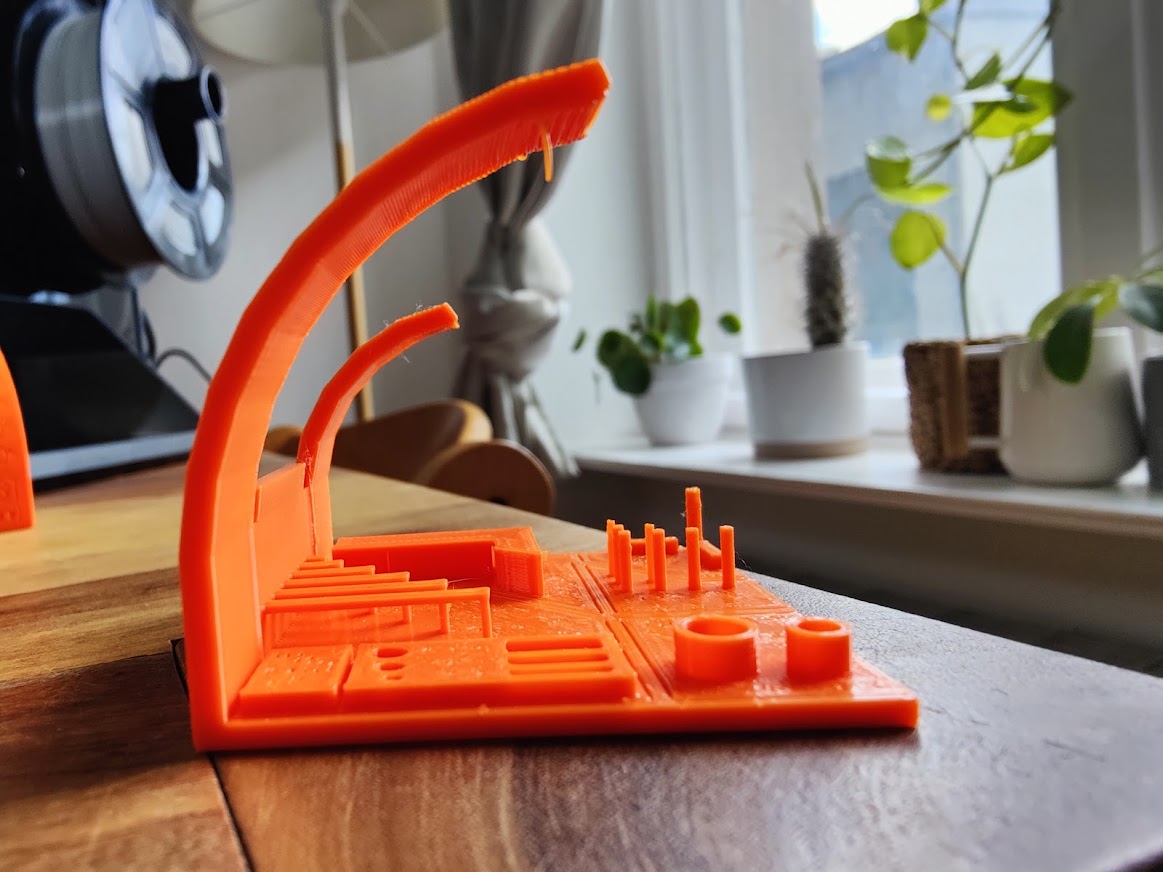
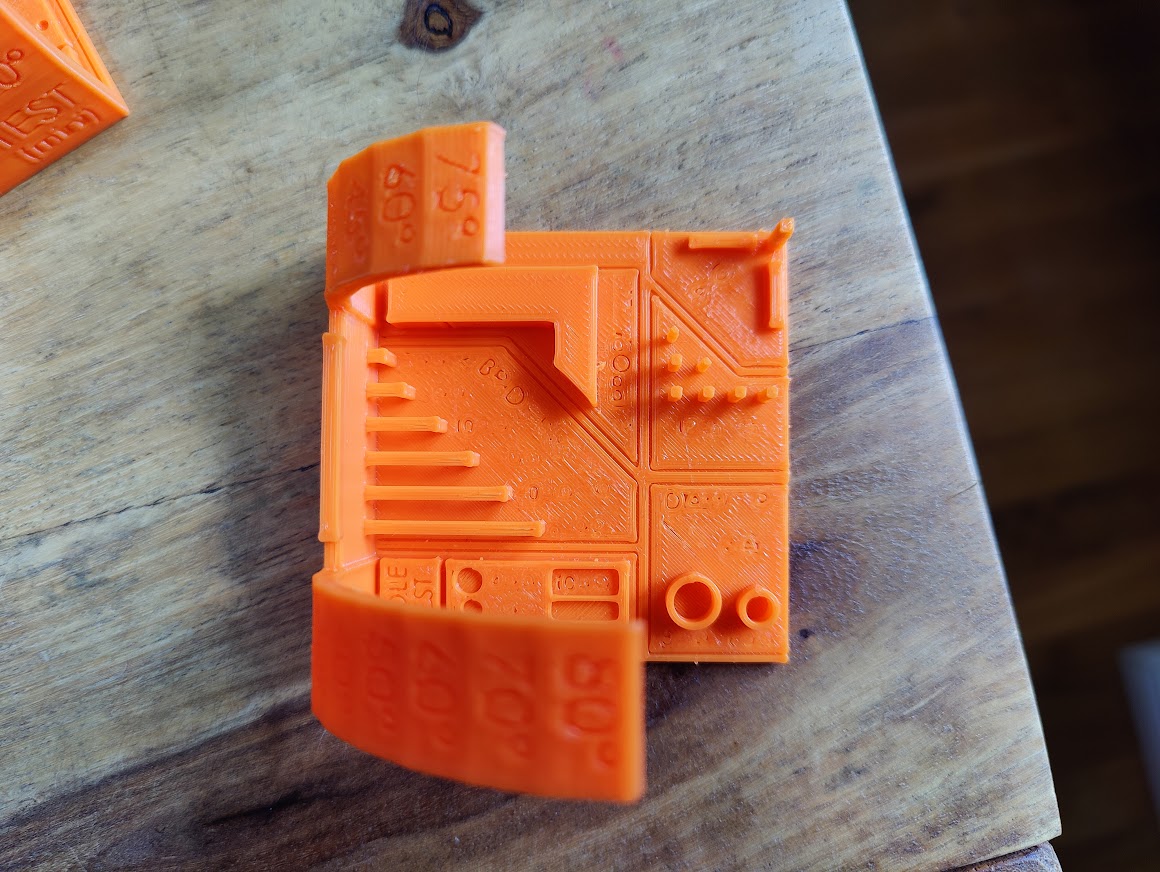
I want to use up the Bambu PLA coil now. I also print more panels for the kids for their hexbugs. 4 such lanes fill the print bed quite well. They are again printed at 200°C nozzle and 60°C bed temperature and 250mm/s at 2000mm/s² acceleration. In 07:51 hours they are finished and look up really good a few minor imperfections on the connection clips:
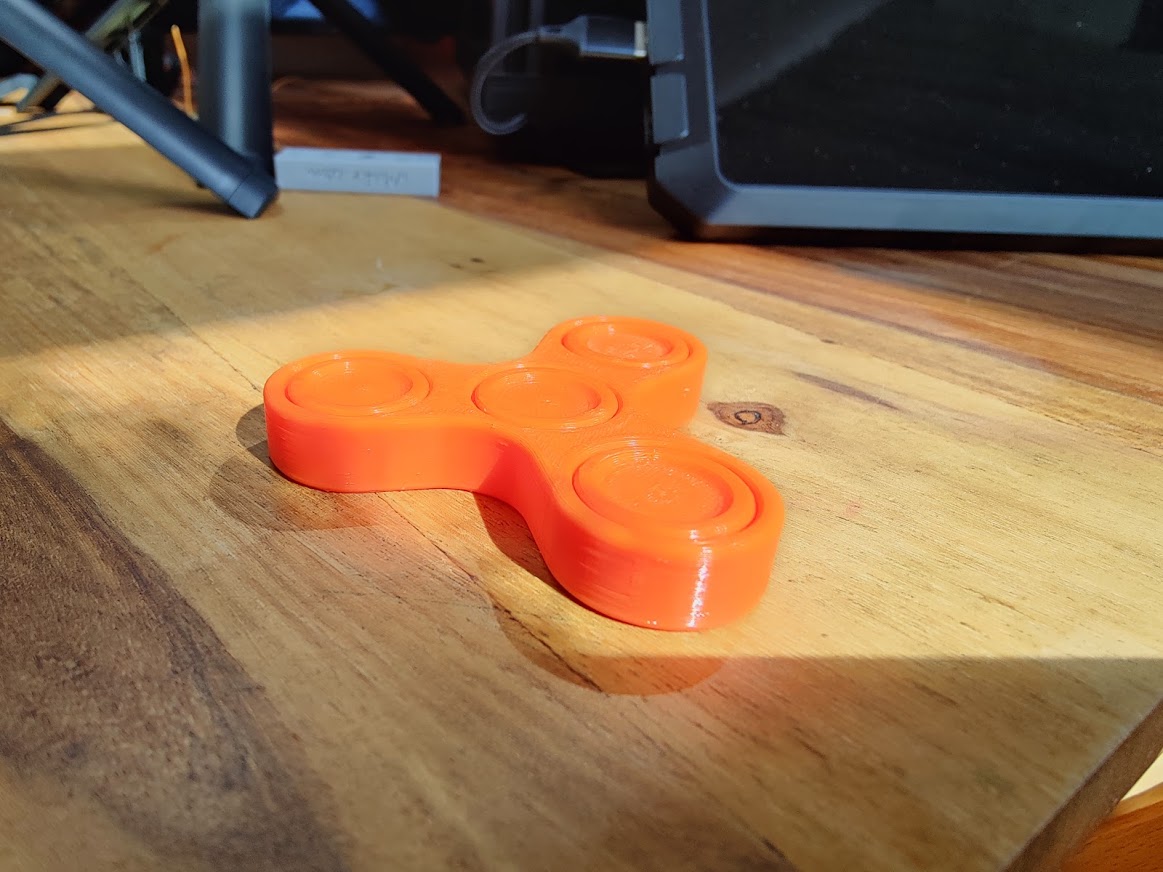
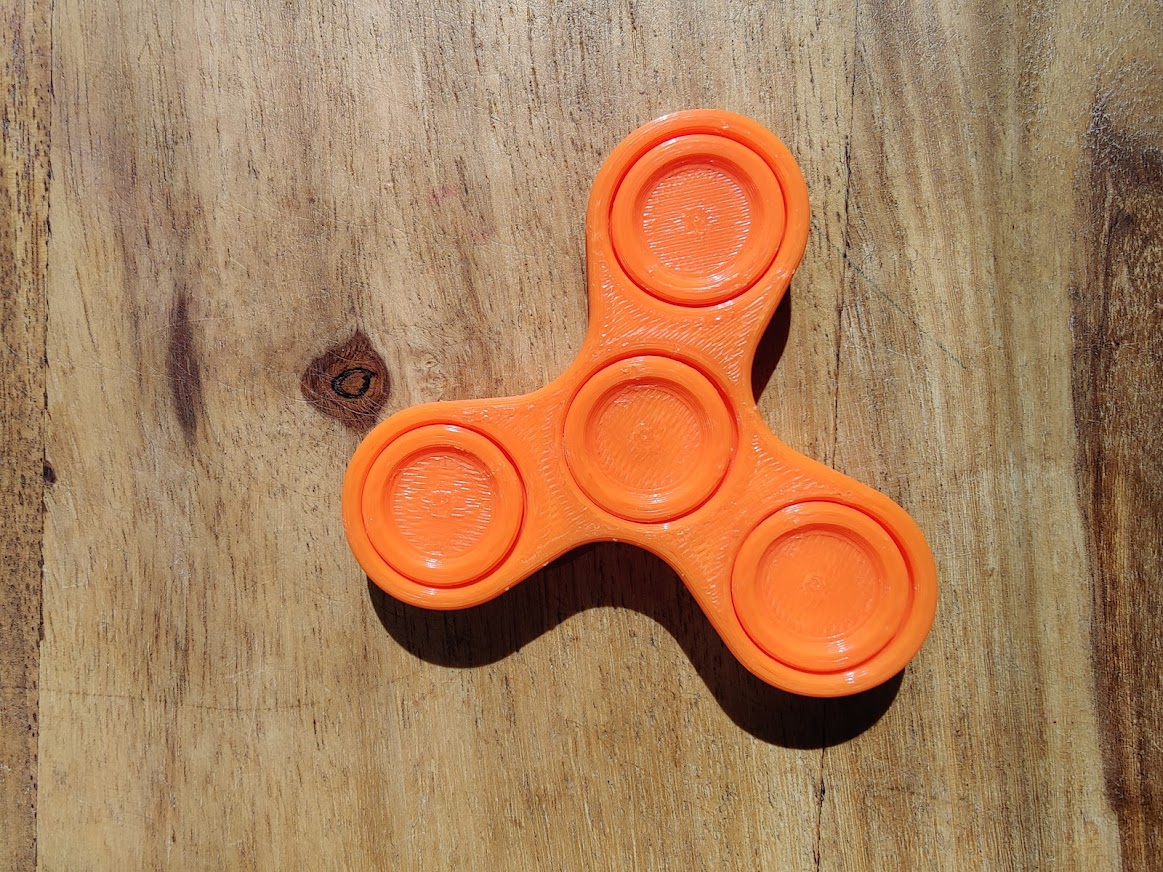
A fidget spinner should not be missing for the usual tolerance test. I print this in exactly the same settings in 01:42 hours. It’s not the best figdet spinner ever printed – especially as far as bridging goes, but it works out of the box with no problems.
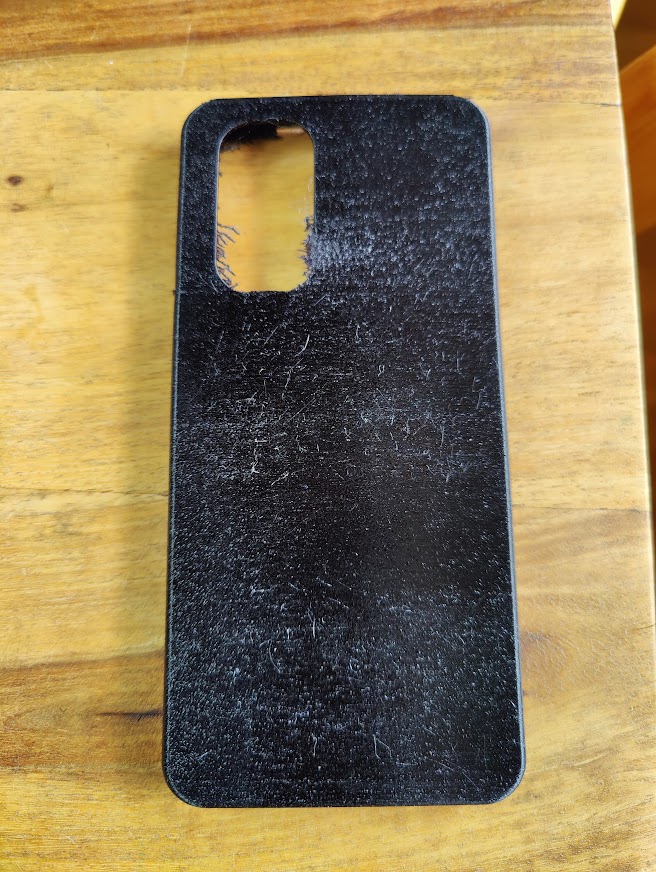
Since we have a direct drive extruder here, Amazon’s Basics TPU (offshore value: 95A) is used. However, the TPU profile information in Cura makes no sense at all here. So I choose 230°C nozzle and 30°C bed temperature for a phone case to be printed. I also use half the standard speed, i.e. 60mm/s and set the cooling to 50% because of overhangs to be printed. The result is poor and definitely needs further optimization. A lot of artefacts can be seen including massive imperfections in the area of the camera section.
Actually, I should n’t use any abrasive filaments (i.e. that cause friction/nozzle wear) with the built-in brass nozzle. But hey, Creality doesn’t include a hardened steel nozzle, but an all-metal hotend up to 300 degrees including a very good direct-drive extruder.
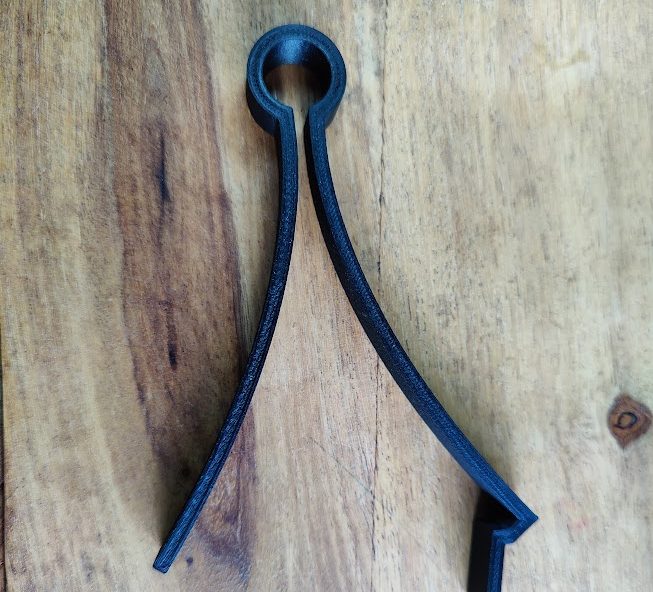
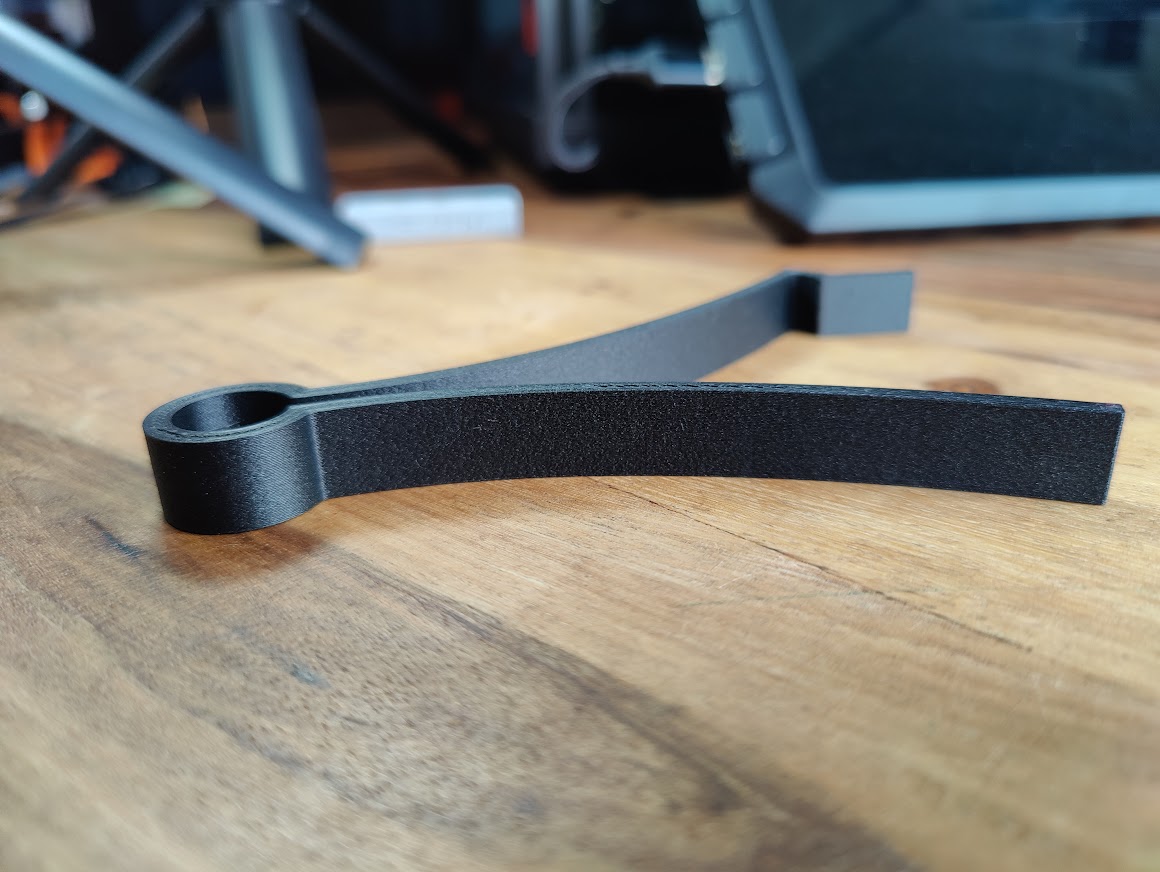
Curiosity wins and I use Bambu PA-CF – a nylon-carbon filament, which I print at a nozzle temperature of 265°C and a bed temperature of 85°C (cooling: 50%). The result is a freshness clip with 120mm/s , whose side walls look great, but whose top and bottom definitely look greatcould have tolerated more filament flow.
Enclosure: Roof missing = half enclosure
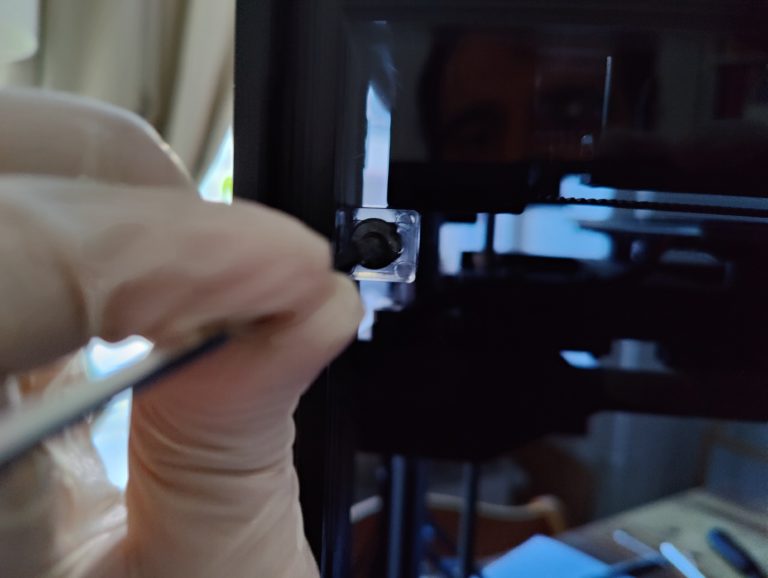
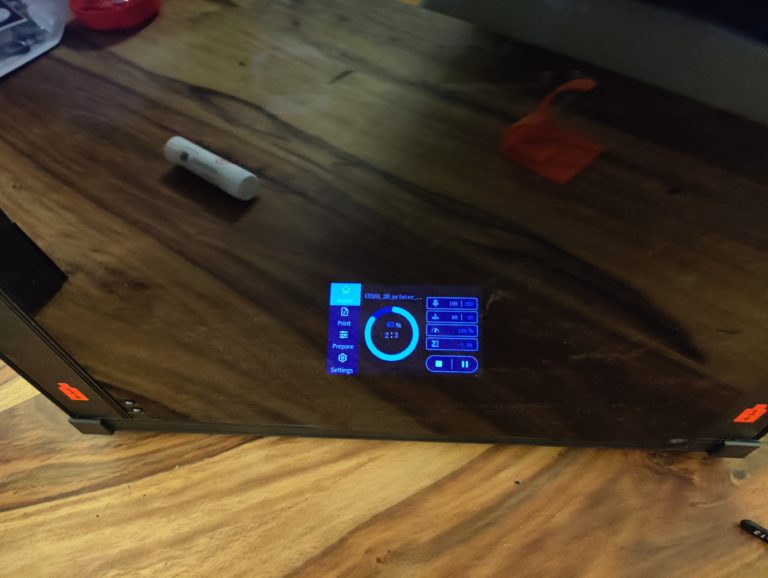
Operation Covering the Ender-5 S1 starts with chic black and violet tinted acrylic glass panels, which are quickly screwed to the profiles using cube clips. Only the fixation of the front door is fiddly with hinges that are difficult to fix because they are hardly accessible.
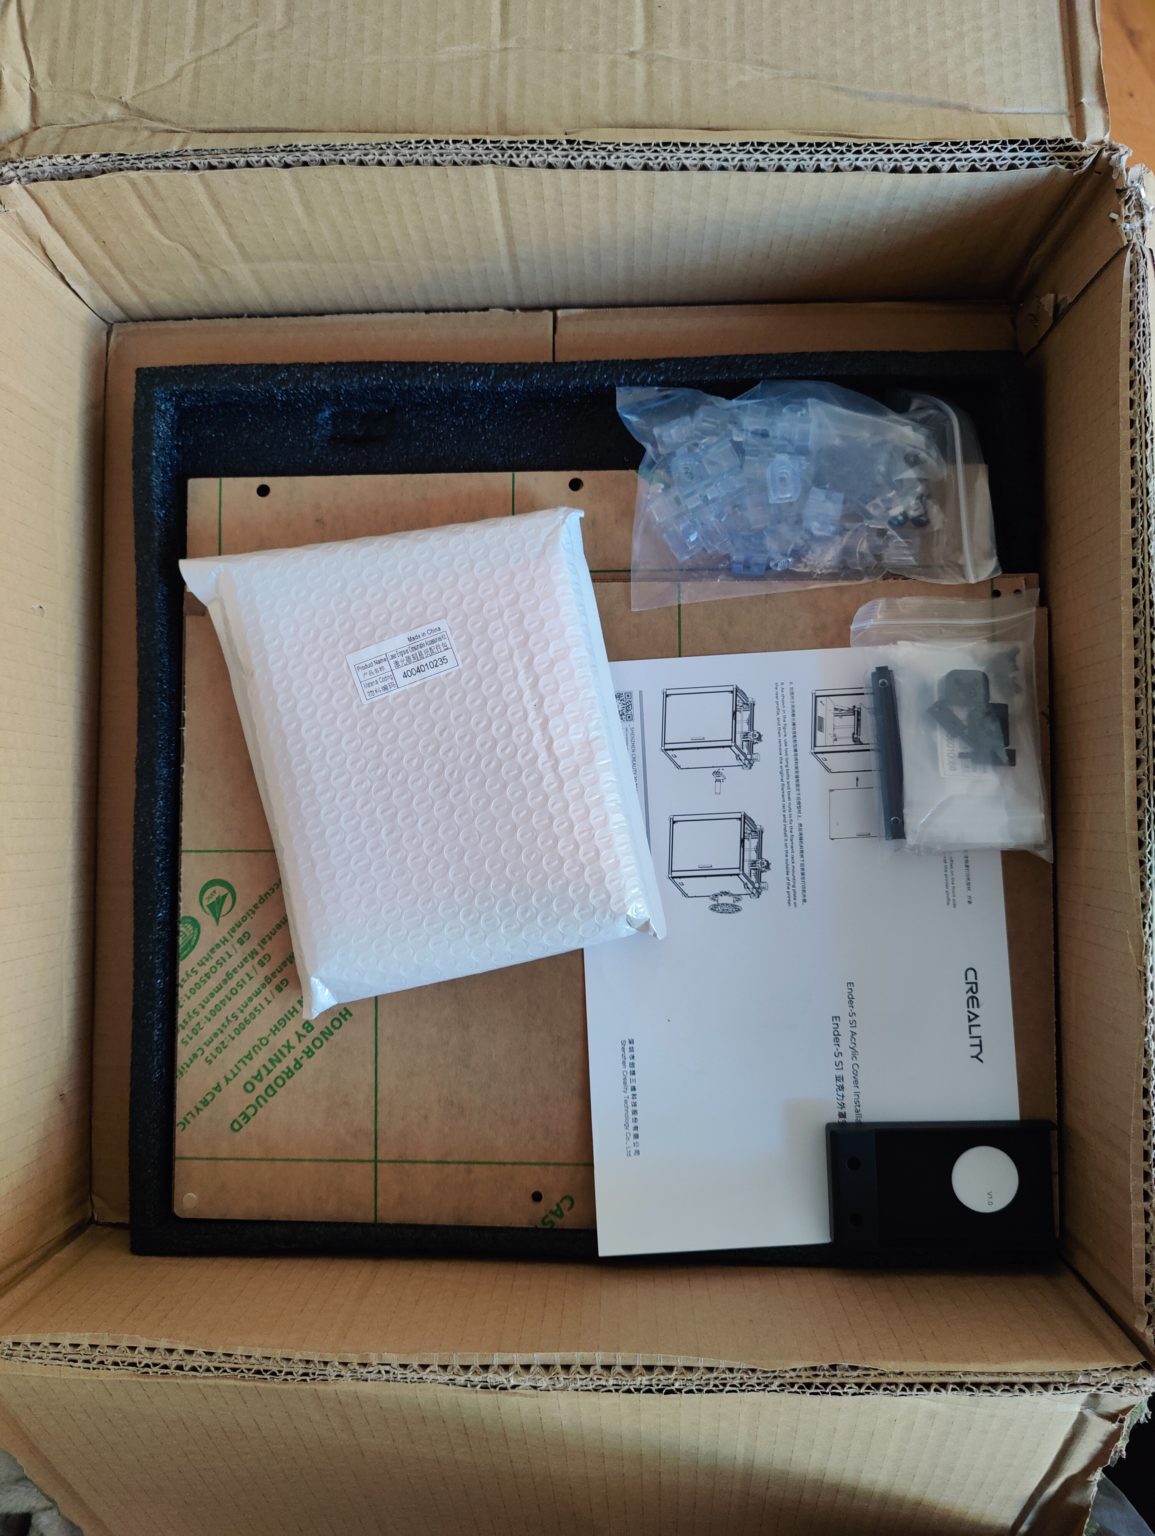
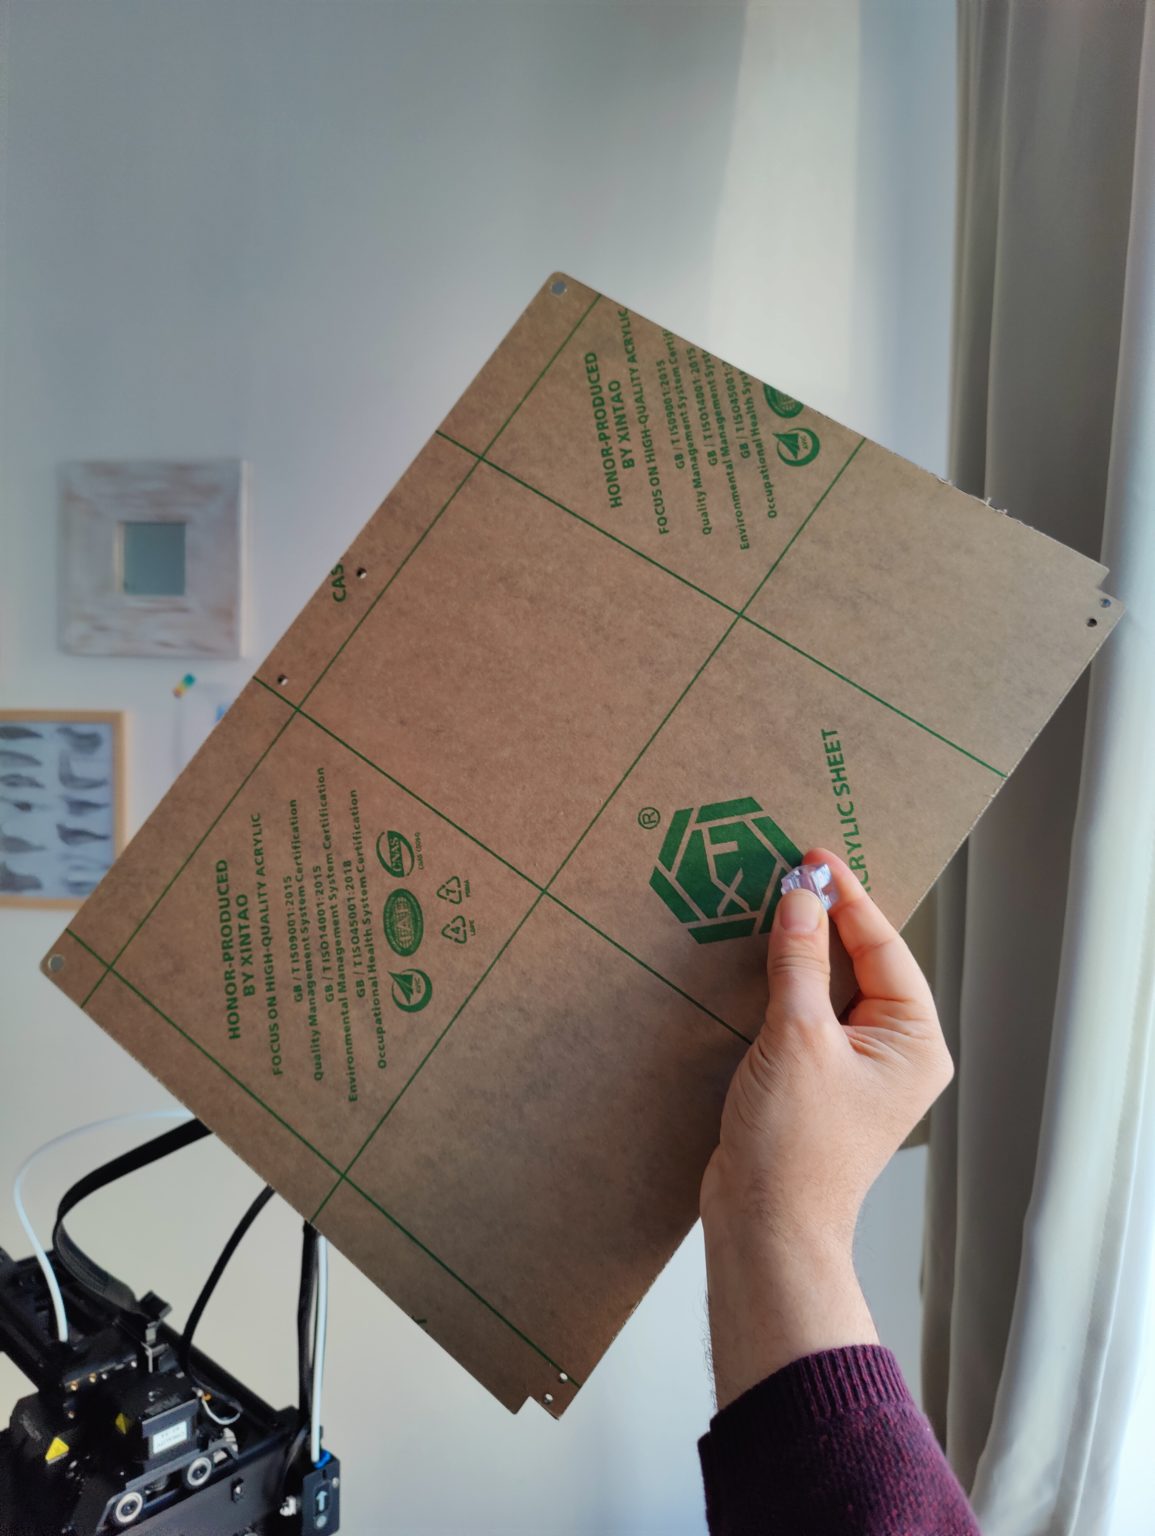
But I look a bit puzzled when I realize: This is not an enclosure at all, because the roof is missing! Creality has it on offer here, for example. The Ender-5 S1 with the acrylic glass panels looks undisputedly good and much more elegant – but what else the latter are supposed to do apart from visual stimuli and prevention of drafts remains a mystery to me.
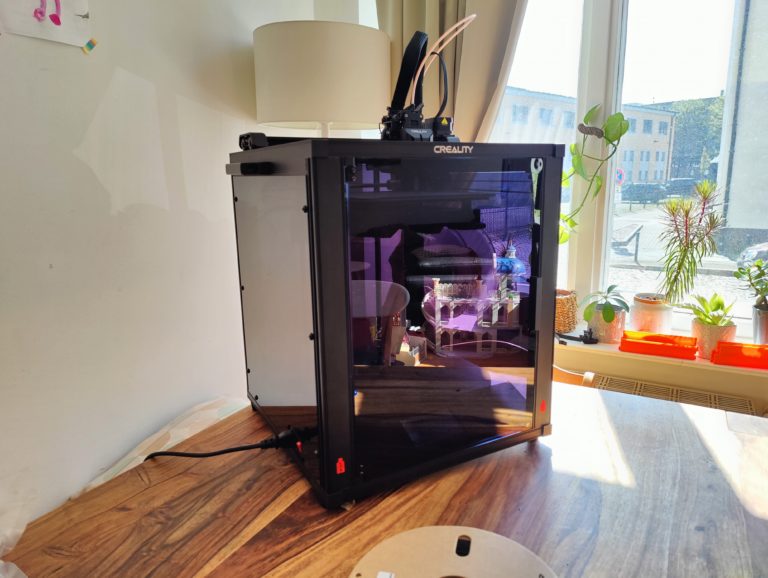
After all: Even without a “roof” is the difference between the ambient temperature and the pressure room is now an average of just under 3°C. In other words, if the ambient temperature was 23.1 degrees, for example, it was 26.3 degrees in the pressure room. In further tests, this had no influence on the print results, except for PLA. I also doubt whether these 3 degrees make a difference in my cool basement.
Print Samples Part 2: Marlin firmware with half enclosure
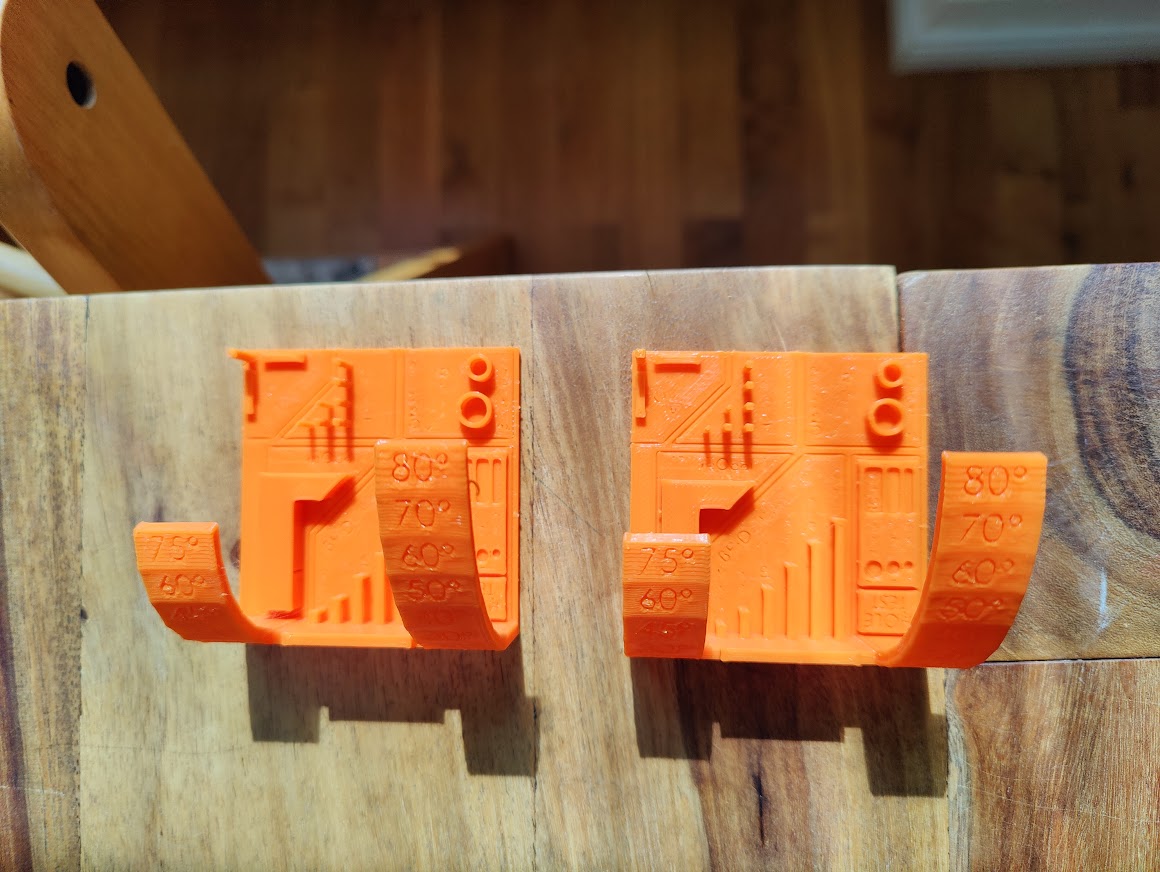
For comparison purposes, I print another mini all-in-one test , again with Bambu PLA in orange, again with 200°C nozzle and 60°C bed temperature and again with 250mm/s (outer wall: 60mm/s, acceleration: 500mm /s²). The result is similar, but here and there the model makes a “melted” impression in small places – a clear sign of PLA not cooling down quickly enough in the now somewhat warmer pressure room. Leaving the door open would probably have helped here.
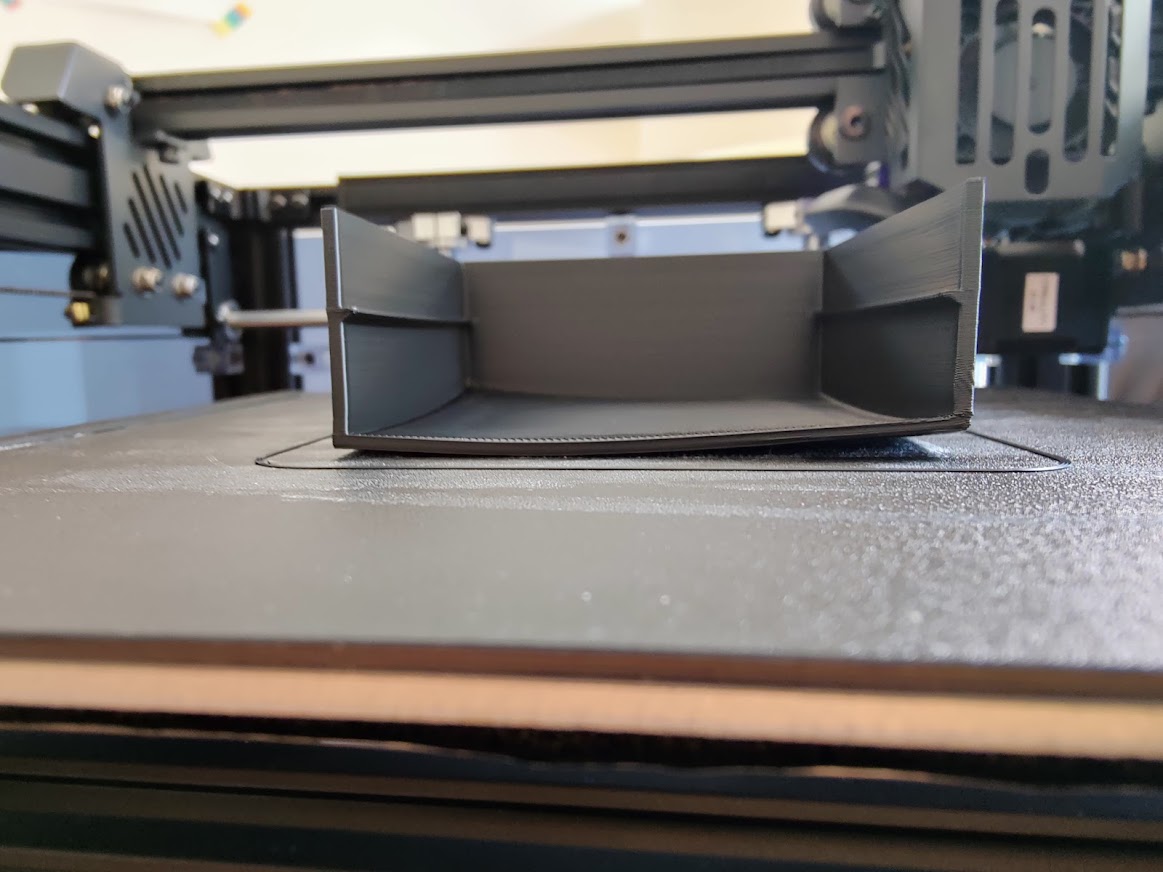
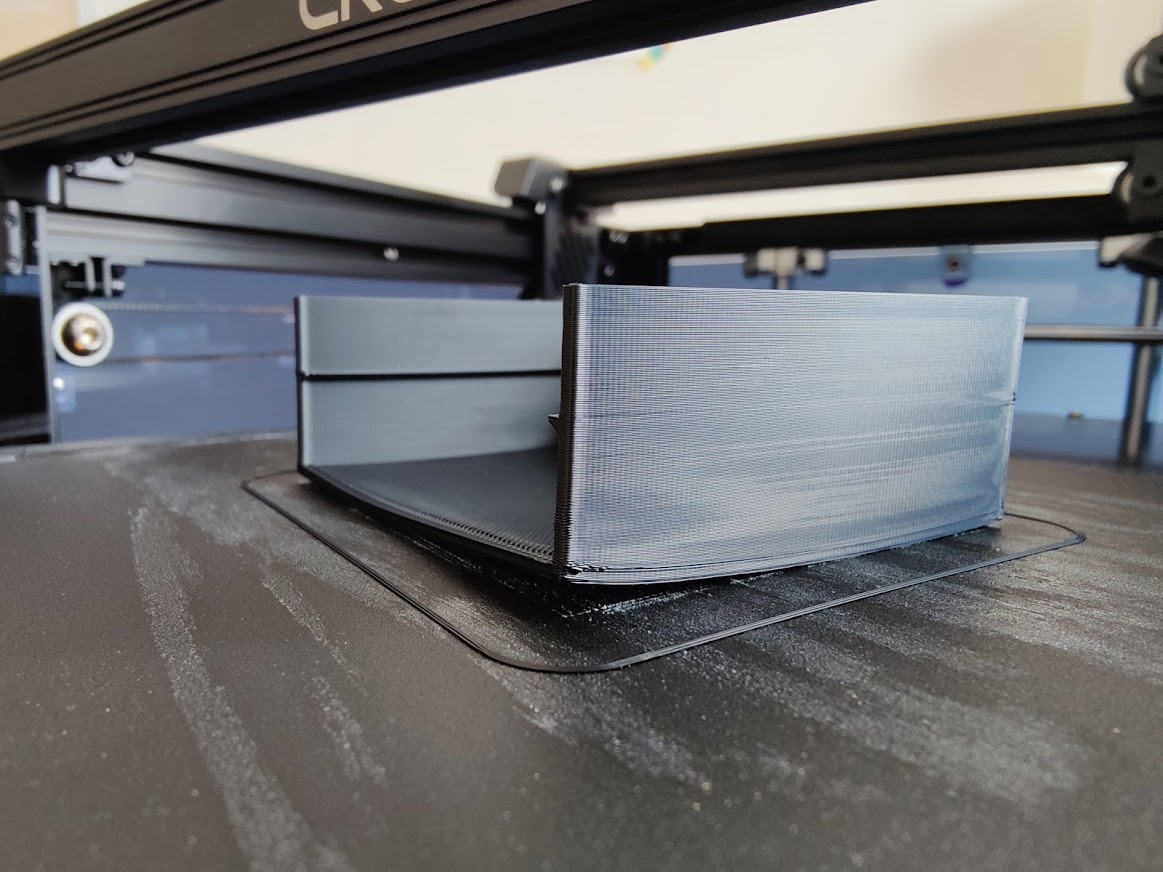
The fact that the “half” enclosure otherwise has no effect is shown by a (started) print of an organizer for small parts with the warp-friendly ASA . Here the massive warping of the otherwise considerable pressure shows: We need a complete housing for high-temperature filaments. Everything else is more bad than well-functioning compromise solutions.
Creality Sonic Pad: 3D printer doping
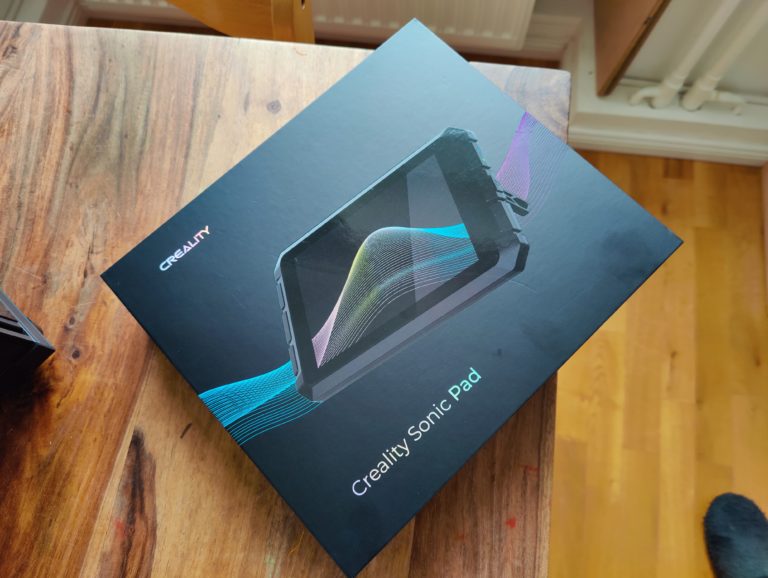
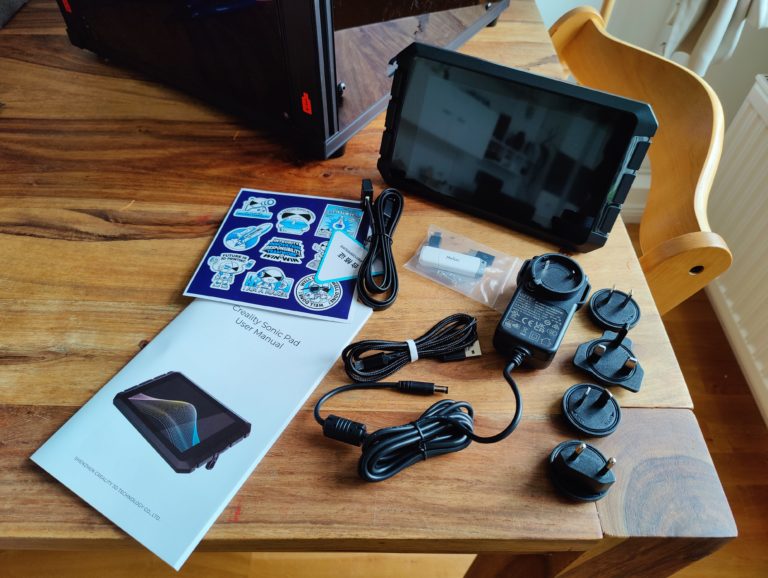
Enough messing around with Marlin firmware and acrylic glass panels. Now it’s the turn of the Creality Sonic Pad. It ‘s solidly made, but a bit too bulky for my taste. In addition to the pad, there is a cable including an acceleration sensor, a micro-USB cable including adapters for mini-USB and USB-C, small screws and a USB memory stick. In addition to the obligatory stickers and an operating manual, the 12V power supply unit with various adapters also comes with it. Of course we choose the EU version here.
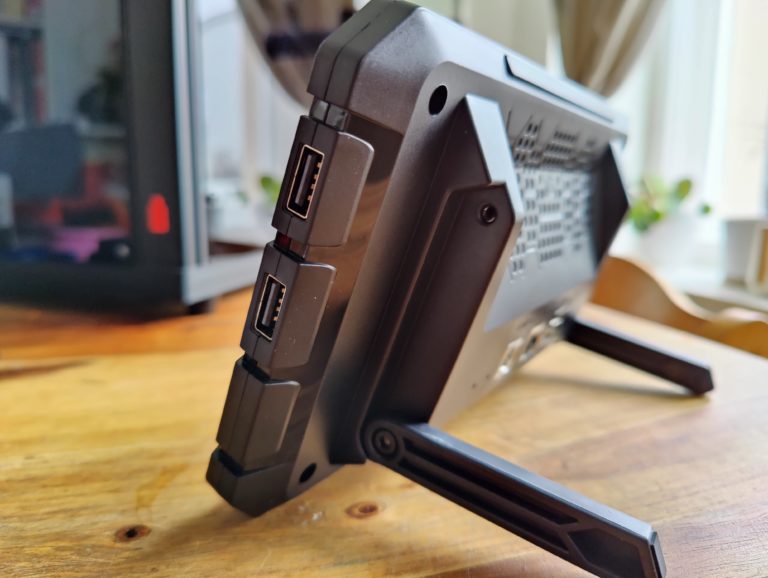
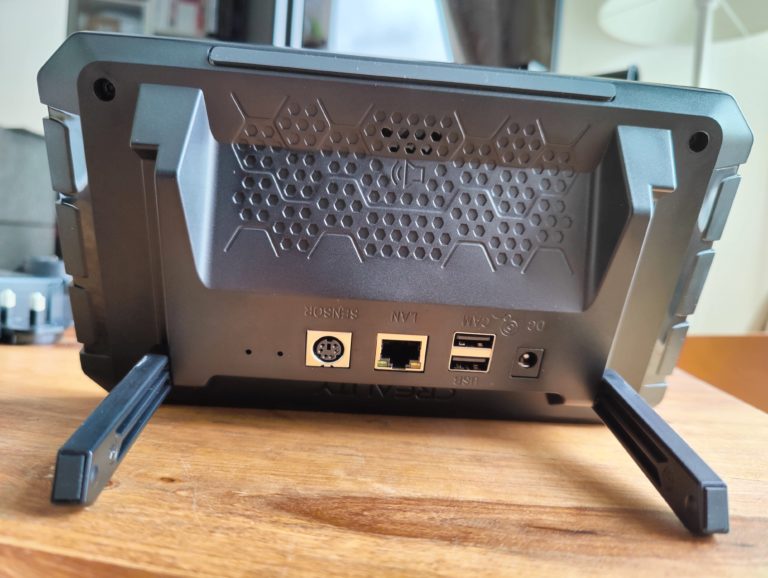
So: fire up the power, choose one of the 4 USB ports on the Sonic Pad and connect it to the Ender-5 S1 and switch it on. I follow the setup instructions, set up the Wi-Fi, among other things, and in the subsequent selection of selectable 3D printers I am surprised that the Ender-5 S1 is not available. Do I have to configure this manually now seriously?
A quick look at Youtube tells me: no. Just that turn off the pad again, turn it on and, bang, I’m prompted to download the current firmware. Here I would have liked a direct firmware update after setting up the Wi-Fi, but good. Google is my friend. After that I can select the Ender-5 S1 in the menu. Pay attention to which version of the printer you have: There is the first version with a Z-endstop, which you can recognize by the 3D-printed fan duct. I have version two (“Without Z-Switch”) with injection molded fan duct.
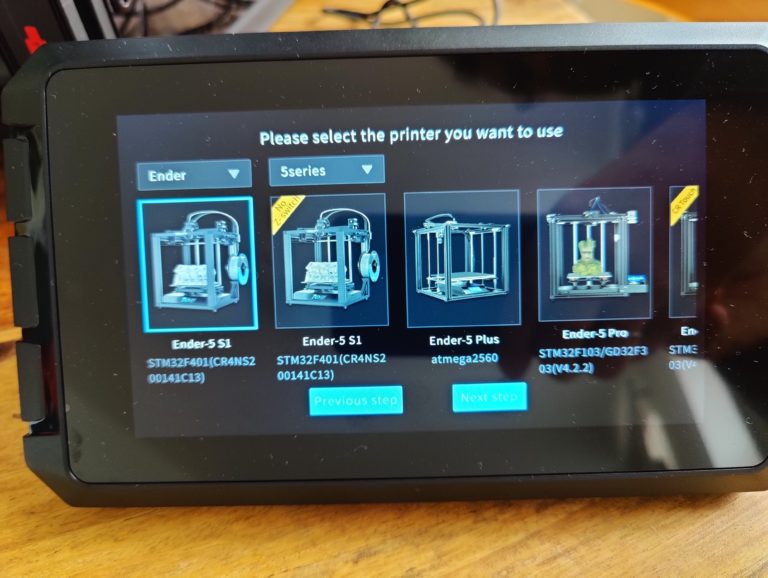
Now the pad tells me that I shouldn’t connect it to any USB port, but to the port declared as “USB1” on the left side of the pad. So just plugged in and on we go. I’m going to set the Z offset. This is followed by manual leveling based on 4 corner positions on the print bed, before auto-leveling takes effect – by the way, much, much faster than before with Marlin! BEFORE doing this, make sure that the heating bed is set to 60°C. Unfortunately, the pad doesn’t remind you of that.
After that everything is set up. The pad welcomes me with the usual Mainsail/Fluidd, very clear look. At the top you can see a status bar, on which you can, among other things, also change the printer; because a maximum of 4 additional printers can be connected to the pad. Below that are diagrams and history graphs related to hotbed and hotend temperatures.
The four tiles on the home screen are populated with options for axis and temperature control, preheat presets, and general pad settings. If I press “Print” here, I can obtain print files locally via Wi-Fi , via USB (adapter with SD card) or the Creality Cloud . With “Print History” I can display jobs that have already been completed and their (actual print time).

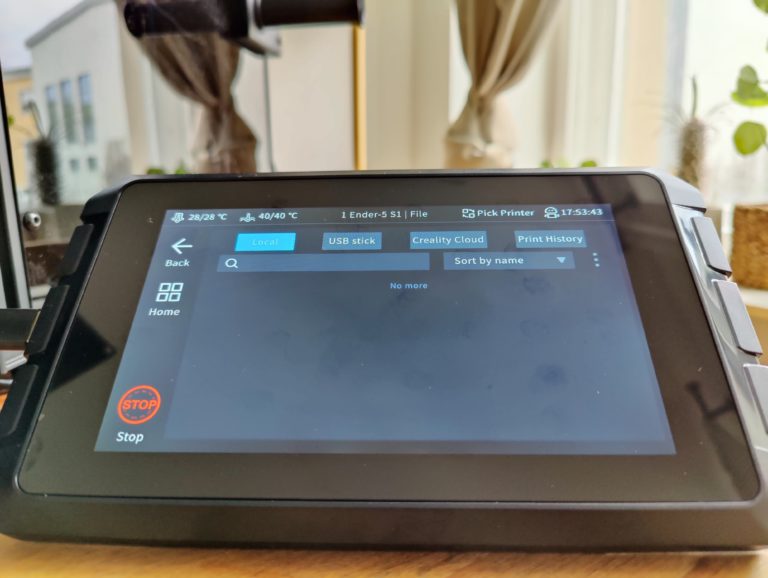
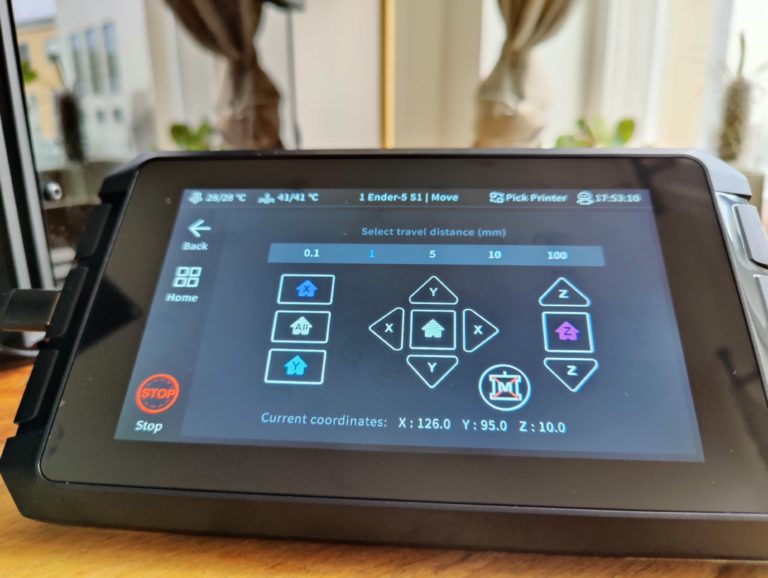
As a lazy person, I opt for the web interface, whose IP address can be found out quickly via the router. Things to note here: There are two web interfaces – one for the Sonic Pad and one for the actual printer on a different port number. However, this is only relevant when using multiple printers.
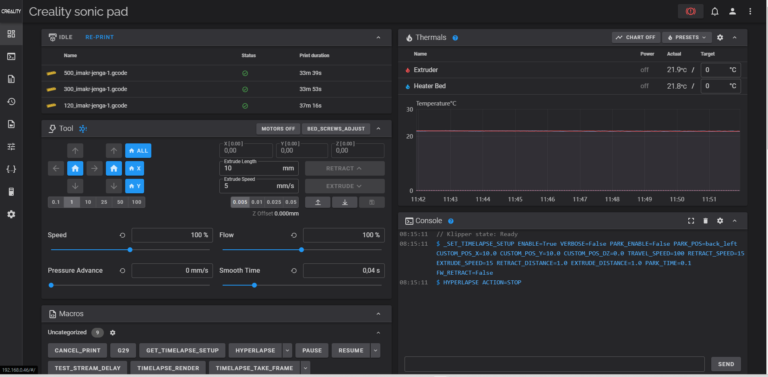
Next thing I’m wondering is: So what are the default settings I’m printing with now with Klipper onboard? To do this, I go through the sonic pad settings and find out that the default is 300mm/s and an acceleration value of 5000mm/s². It is also important to remember here: the values are dynamically controlled – of course, the printer does not continuously steam over the print bed at 300mm/s.
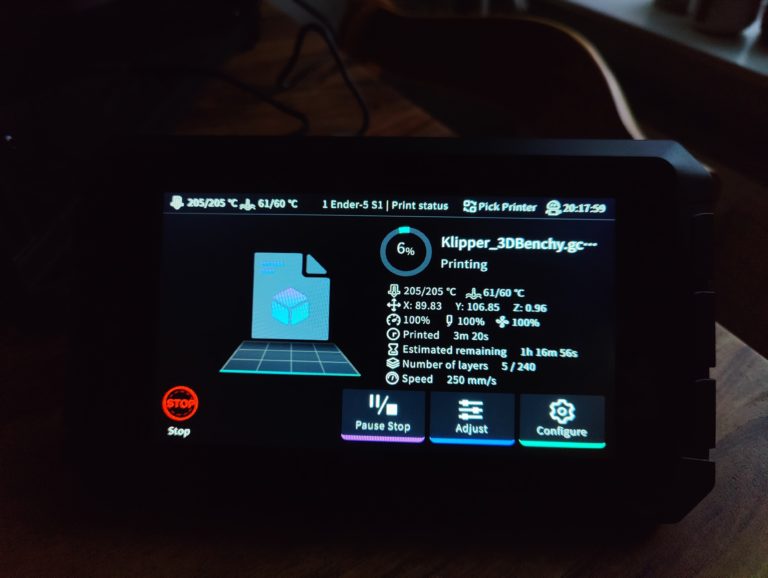
Well, let’s adjust these values in Cura, slice the whole thing and drag & drop it onto the web interface. It’s even easier if you look at the Moonraker plugin for Cura, then the G-code can be sent directly via Cura to the now “clipped” Ender-5 S1.

Print samples Part 3: Clipper with semi-enclosure
So for comparison purposes we print again with Creality’s CR-PLA matt black and remember: With the Marlin firmware, a Benchy with 250mm/s (2000mm/s² = max acceleration with Marlin, outer wall: 60mm/s) took 1:06 hours. With the sonic pad and clipper, he now prints the same benchy at a slightly increased hotend temperature (205°C) with a whopping 300mm/s and 5000mm/s² (outer wall: 60mm/s).
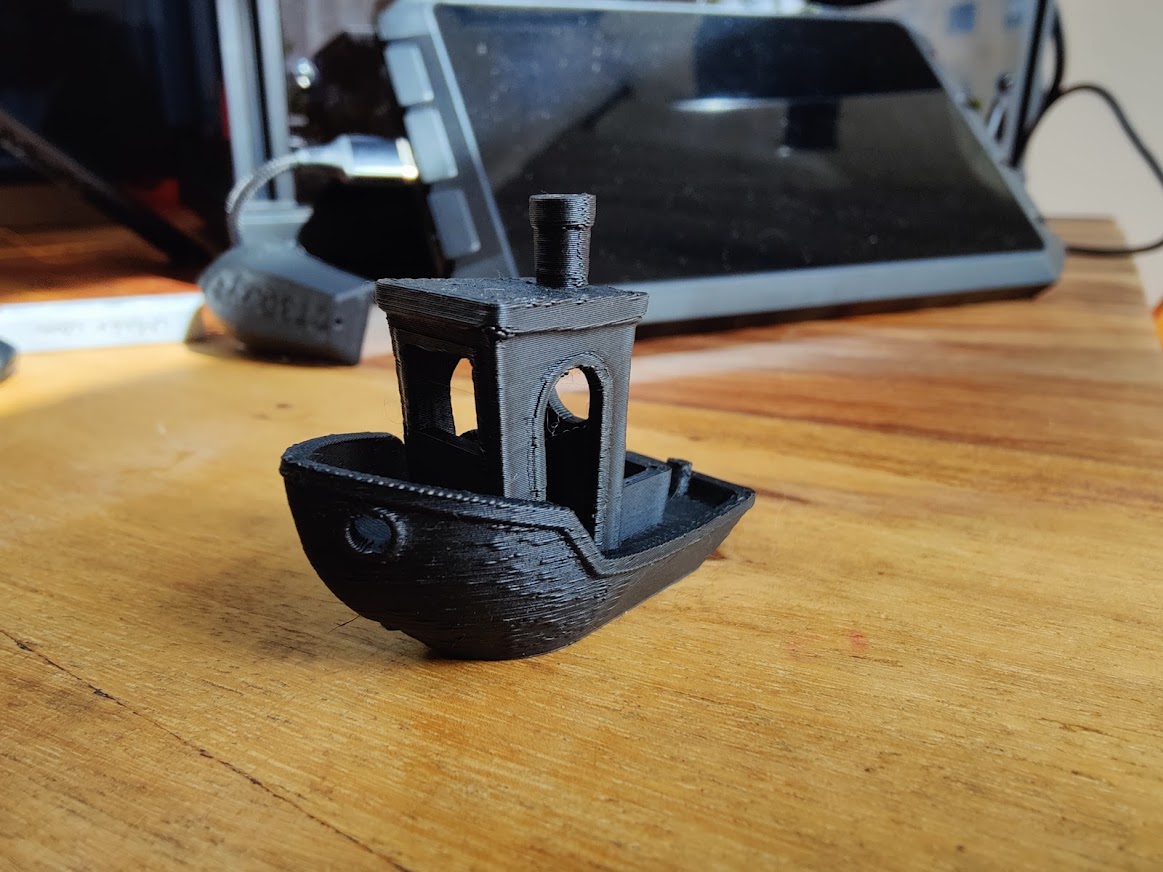
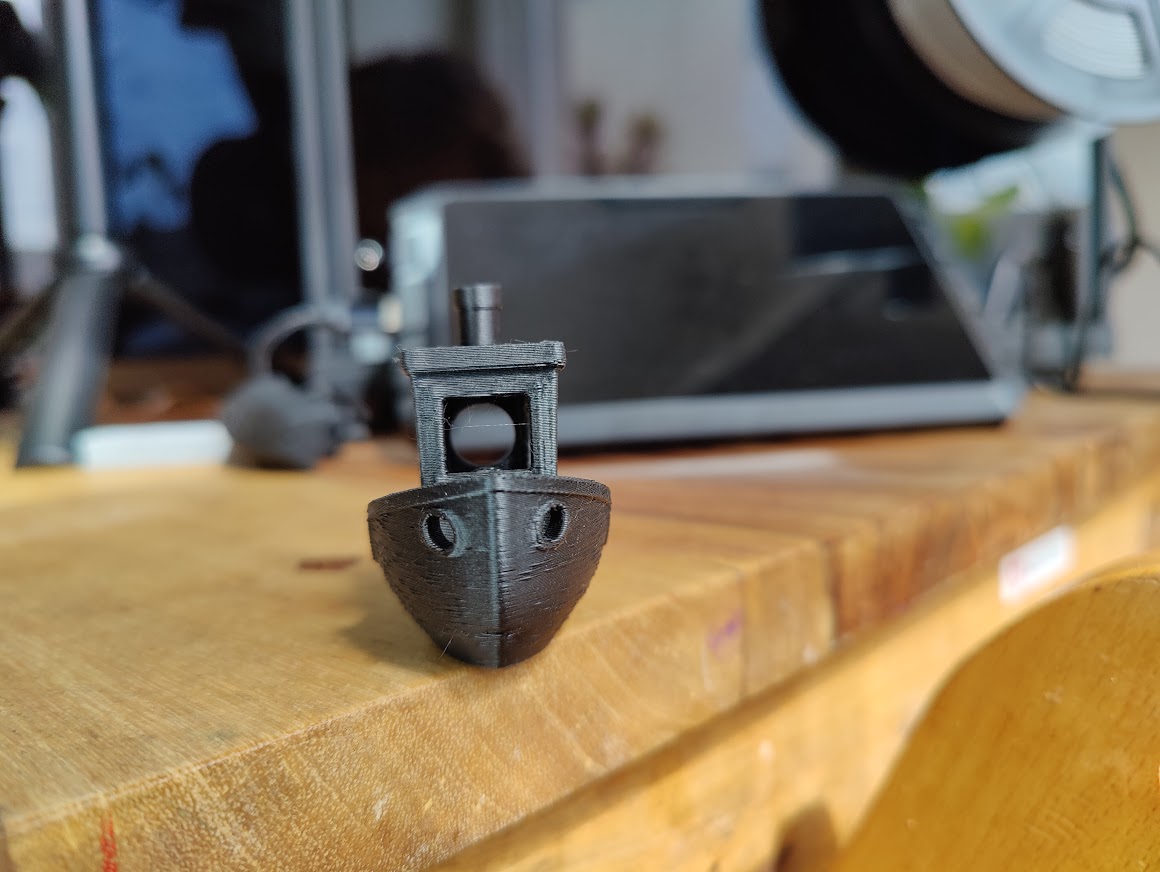
The print reveals major quality limitations , which are probably due to the high acceleration values and imperfect retract values - but especially to insufficient cooling (see bug). The Benchy consequently has more obvious hull problems with the bow area than before under Marlin. So I just tweak the retract values a little and lo and behold, the result is a bit better. A lot of fine tuning is still needed here.
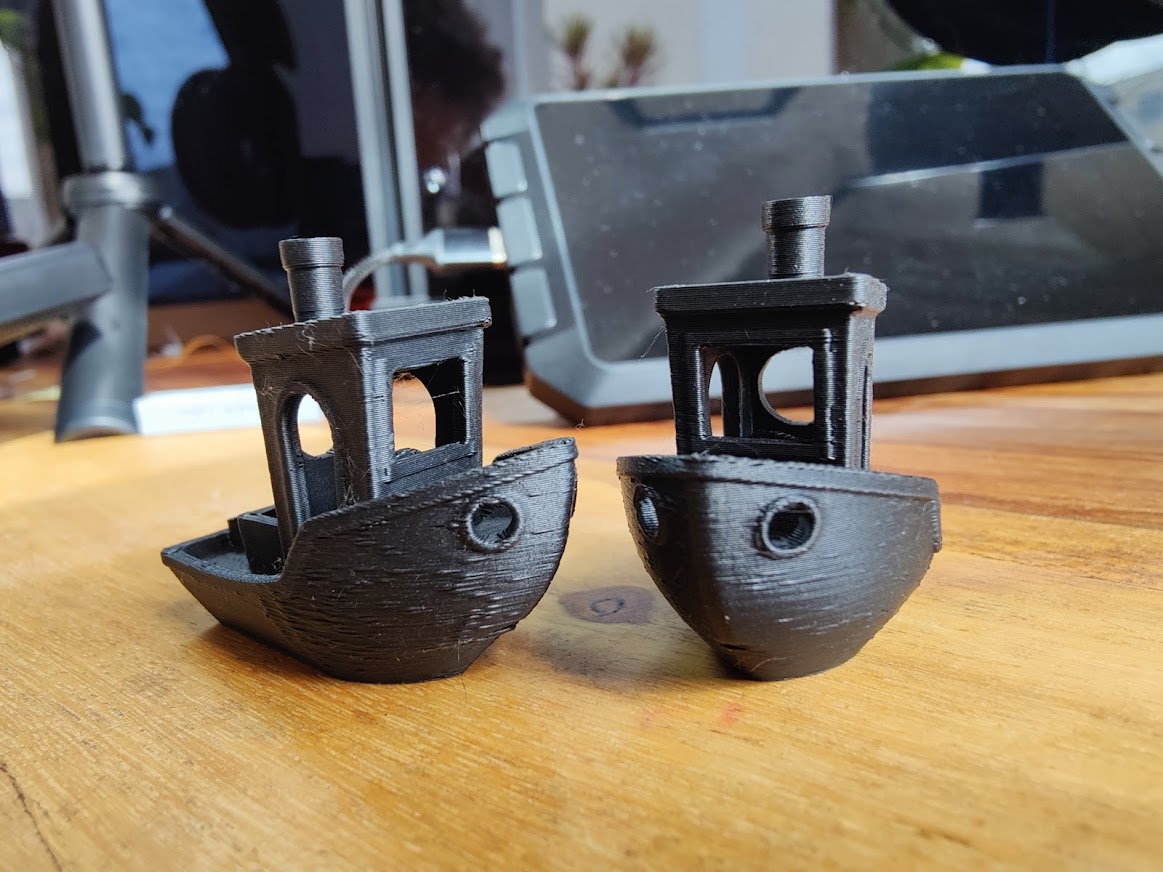
How does the Voronoi bench perform with these settings? Answer: Actually the same as before! I can hardly make out a difference here – except for the printing time: At 01:49 hours, it is significantly longer than before. Nevertheless, the printer passed this torture test.
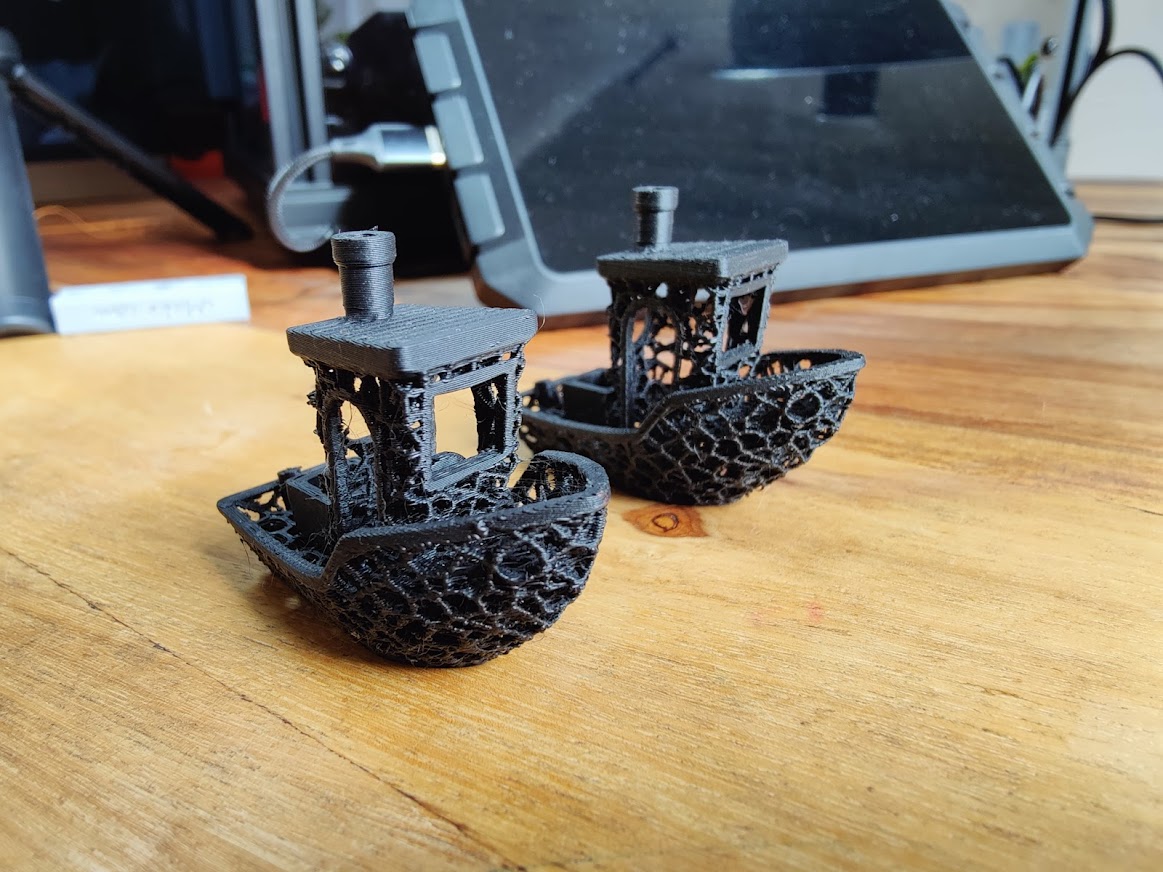
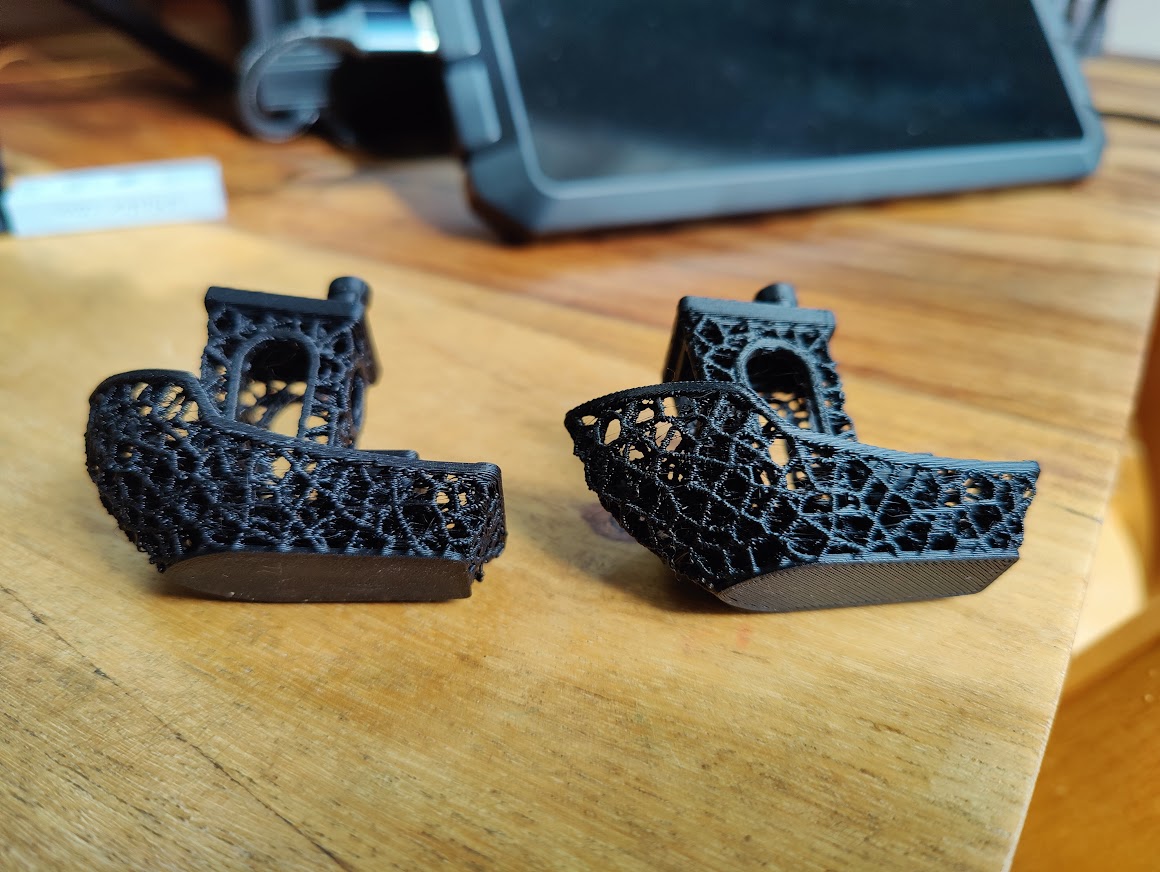
Next we want to run the mini all-in-one test again at 300mm/s and 50000mm/s² acceleration – again in Bambu PLA Orange for comparison purposes. Here the Ender-5 S1 twitched wildly over the print bed. I am not satisfied with the result.
In addition to strong overhang problems (the cooling once again), a rough top player can be seen in general. To be fair, it has to be mentioned with regard to the dark spots that there were probably remnants of the Bambu PA-CF filament. Overall, further fine-tuning is also necessary here. reality? Deliver Profiles!
With the same settings I would like to test the tolerance of the printer here as well. The result is okay on the side walls, but the top player is also unclean here. But the Fidget Spinner can be rotated without any problems.
Similar to the Bambu Lab P1P, I’d like to end up doing the iMakr Jenga blocks (for future Jenga game) again as speed test prints. For this I use a new roll of Anycubic PLA in gray. Why grey? Well…Grey PLA is something like the horizontal stripe sweater for larger people – it simply reveals everything and thus also unfavorable appearances. Here you can see all three cuboids at 120, 300 and 500mm/s in comparison.
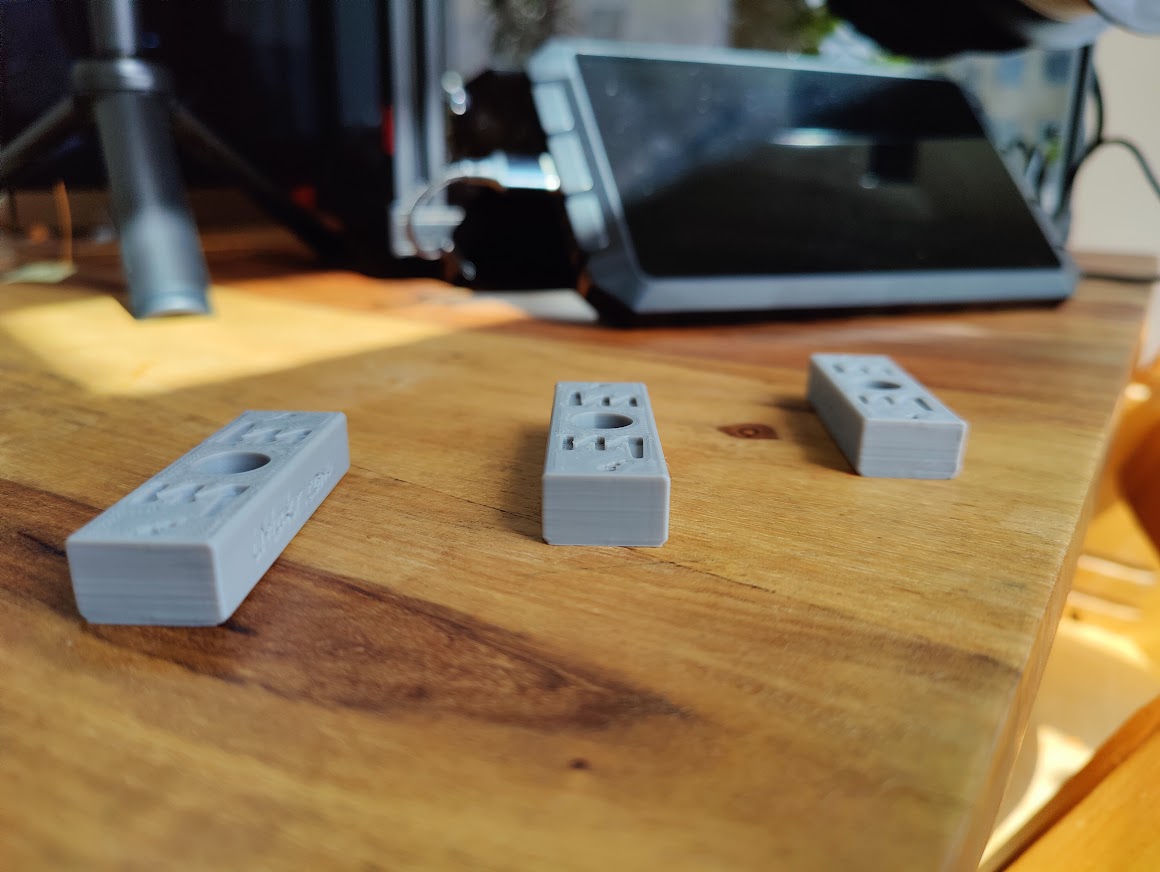
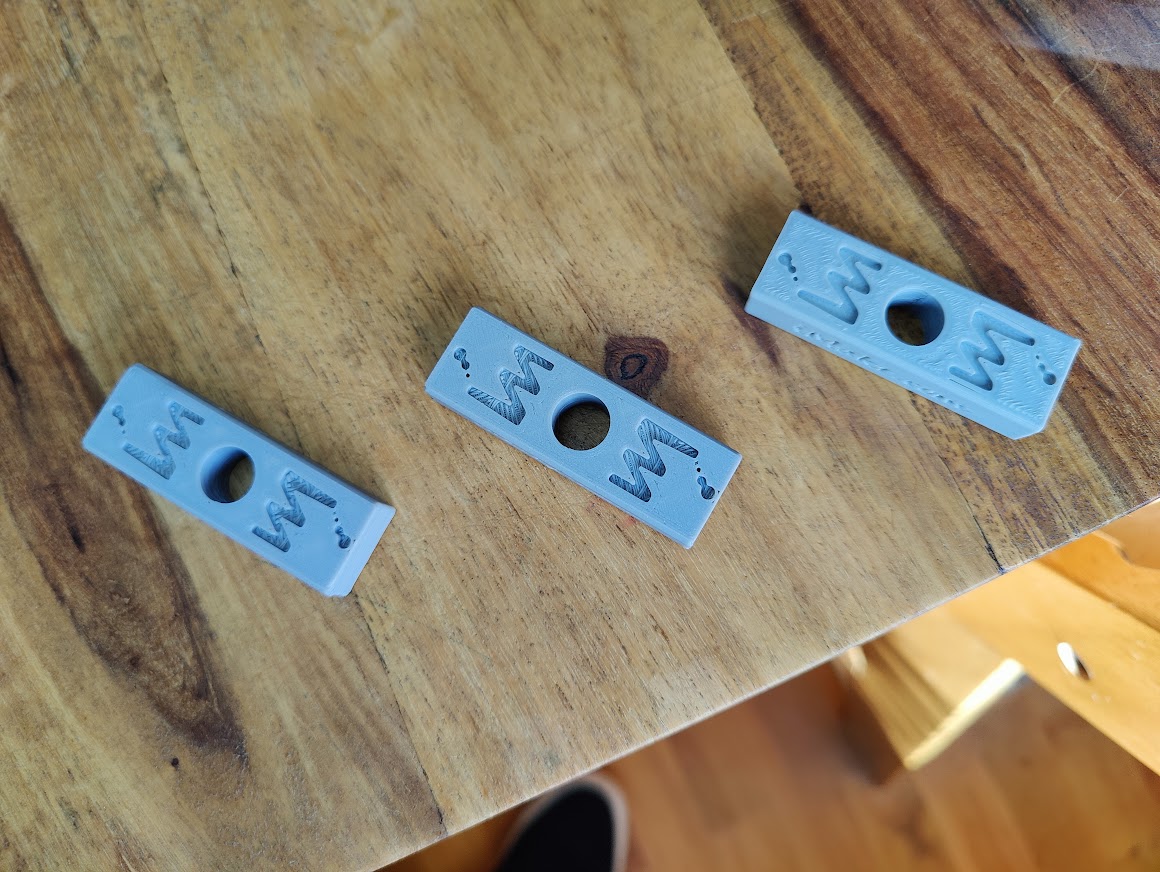
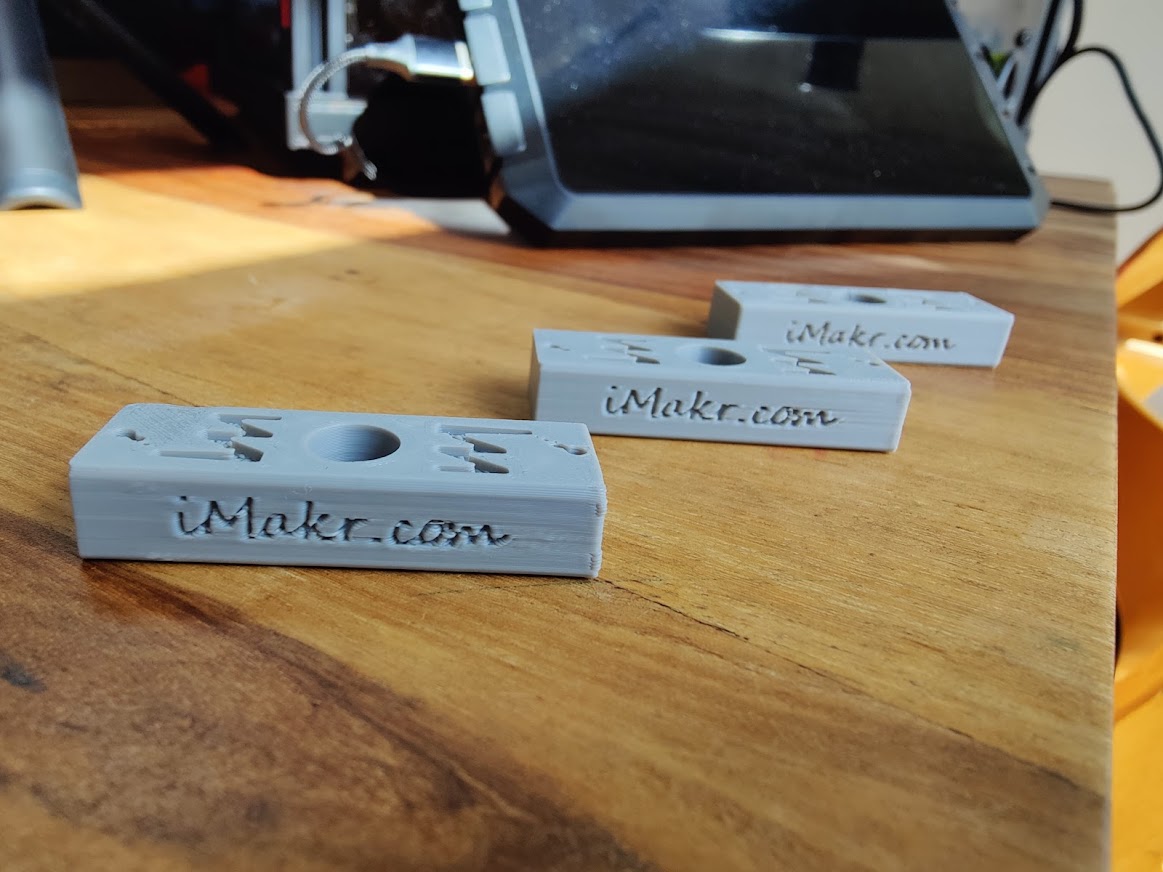
Striking: The Ender-5 S1 in combination with the Sonic Pad packs simple geometries with very high speeds into really usable results. Except for the somewhat suffering surface of the cuboids, the quality hardly decreases here – very good. The same applies here: Tuning via pressure profile is important.
Conclusion: final comparison
Admittedly, the Ender-5 S1 surprised me. I initially thought it was just an H-Bot cube knockoff of the Ender-3 S1. This is a very good 3D printer out of the box – maybe even the best of the Ender series. The printer really has potential, which already flashes with stock Marlin firmware and can certainly be exhausted with Creality’s Sonic Pad at around 300mm/s with a few profile adjustments. Cooling is the bottleneck at this speed, especially with overhangs.
The acrylic glass cladding only offers added value from a visual point of view. A complete enclosure would have made more than sense here. The connection of the Sonic Pad makes all the more sense. In terms of print quality, the profiles have to be adjusted here, but a completely different world opens up in terms of user interface and ease of use (also via Wi-Fi).
Creality could be so much more convincing with the Ender-5 S1 if the software support were better, especially when it comes to Cura. The Ender scion suffers somewhat from this, as well as from its price. Fortunately, Creality has now reduced this in the form of a bundle with the Sonic Pad . However, the timing is suboptimal, as the Creality K1 is already a similarly priced next-gen 3D printer with a clipper on board. What do you think of the Ender-5 S1?

